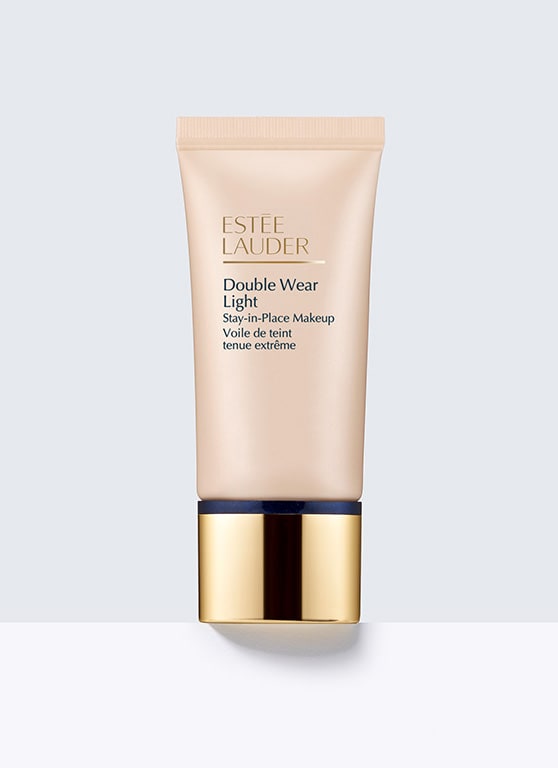
Estee Lauder Double Wear Light Stay-in-Place Makeup SPF10
Product description
15-hour wear, light as air: long-wear makeup is now lightweight makeup.
It’s makeup that keeps up. Fresh, natural, comfortable. Goes on sheer, leaves skin free to breathe all day.
Controls oil. Resists smudging and wont “melt” off through heat and humidity.
For a look that stays vibrant and fresh whether it’s a workday, a workout or a weekend. Smooth it on once and don’t think twice about it.
Ingredients
Water, Cyclopentasiloxane, Trimethylsiloxysilicate, Butylene Glycol, Trimethyl Pentaphenyltrisiloxane, Phenyl Trimethicone, Silica, Magnesium Sulfate, Polyglyceryl-3 Diisostearate, Tribehenin, PEG-10 Dimethicone, BIS-PEG/PPG-14/14 Dimethicone, Ethylhexylglycerin, Phenyl Methicone, Sodium Hyaluronate, Dimethicone, Polyglyceryl-4 Isostearate, Laureth-7, Glycerin, Polymethylsilsesquioxane, Hexyl Laurate, Cetyl PEG/PPG-10/1 Dimethicone, Chamomilla Recutita (Matricaria), Disteardimonium Hectorite, Methicone, Propylene Carbonate, Tetramethyl Hexyphenyl Tetrasiloxane, Cellulose Gum, Xanthan Gum, Dimethicone Silylate, Tocopheryl Acetate, Alumina, Sorbic Acid, Chlorphenesin, Phenoxyethanol. May contain: Iron Oxides, Titanium Dioxide, Bismuth Oxychloride, Mica, Ferric Ammonium Ferrocyanide.
Price: USD 37 for 30 ml
Hello beauties! Let’s talk about makeup today! One of the first foundations I ever tried was from Estee Lauder. This one has sit in my makeup drawer long enough and after sporadic usage I manage to finish it, yay! Pat me, please? lol. Finishing base makeup seems to be impossible back then when I was still trying out gazillion of bases back then, it just seemed to last super long. I intended to review this one and I kept postponing it and before I realized it’s already an empty by the time I took a shot at it. Pardon me..

Estee Lauder Double Wear Light Stay-in-Place Makeup SPF10
Estee Lauder Double Wear Light Stay-in-Place Makeup SPF10
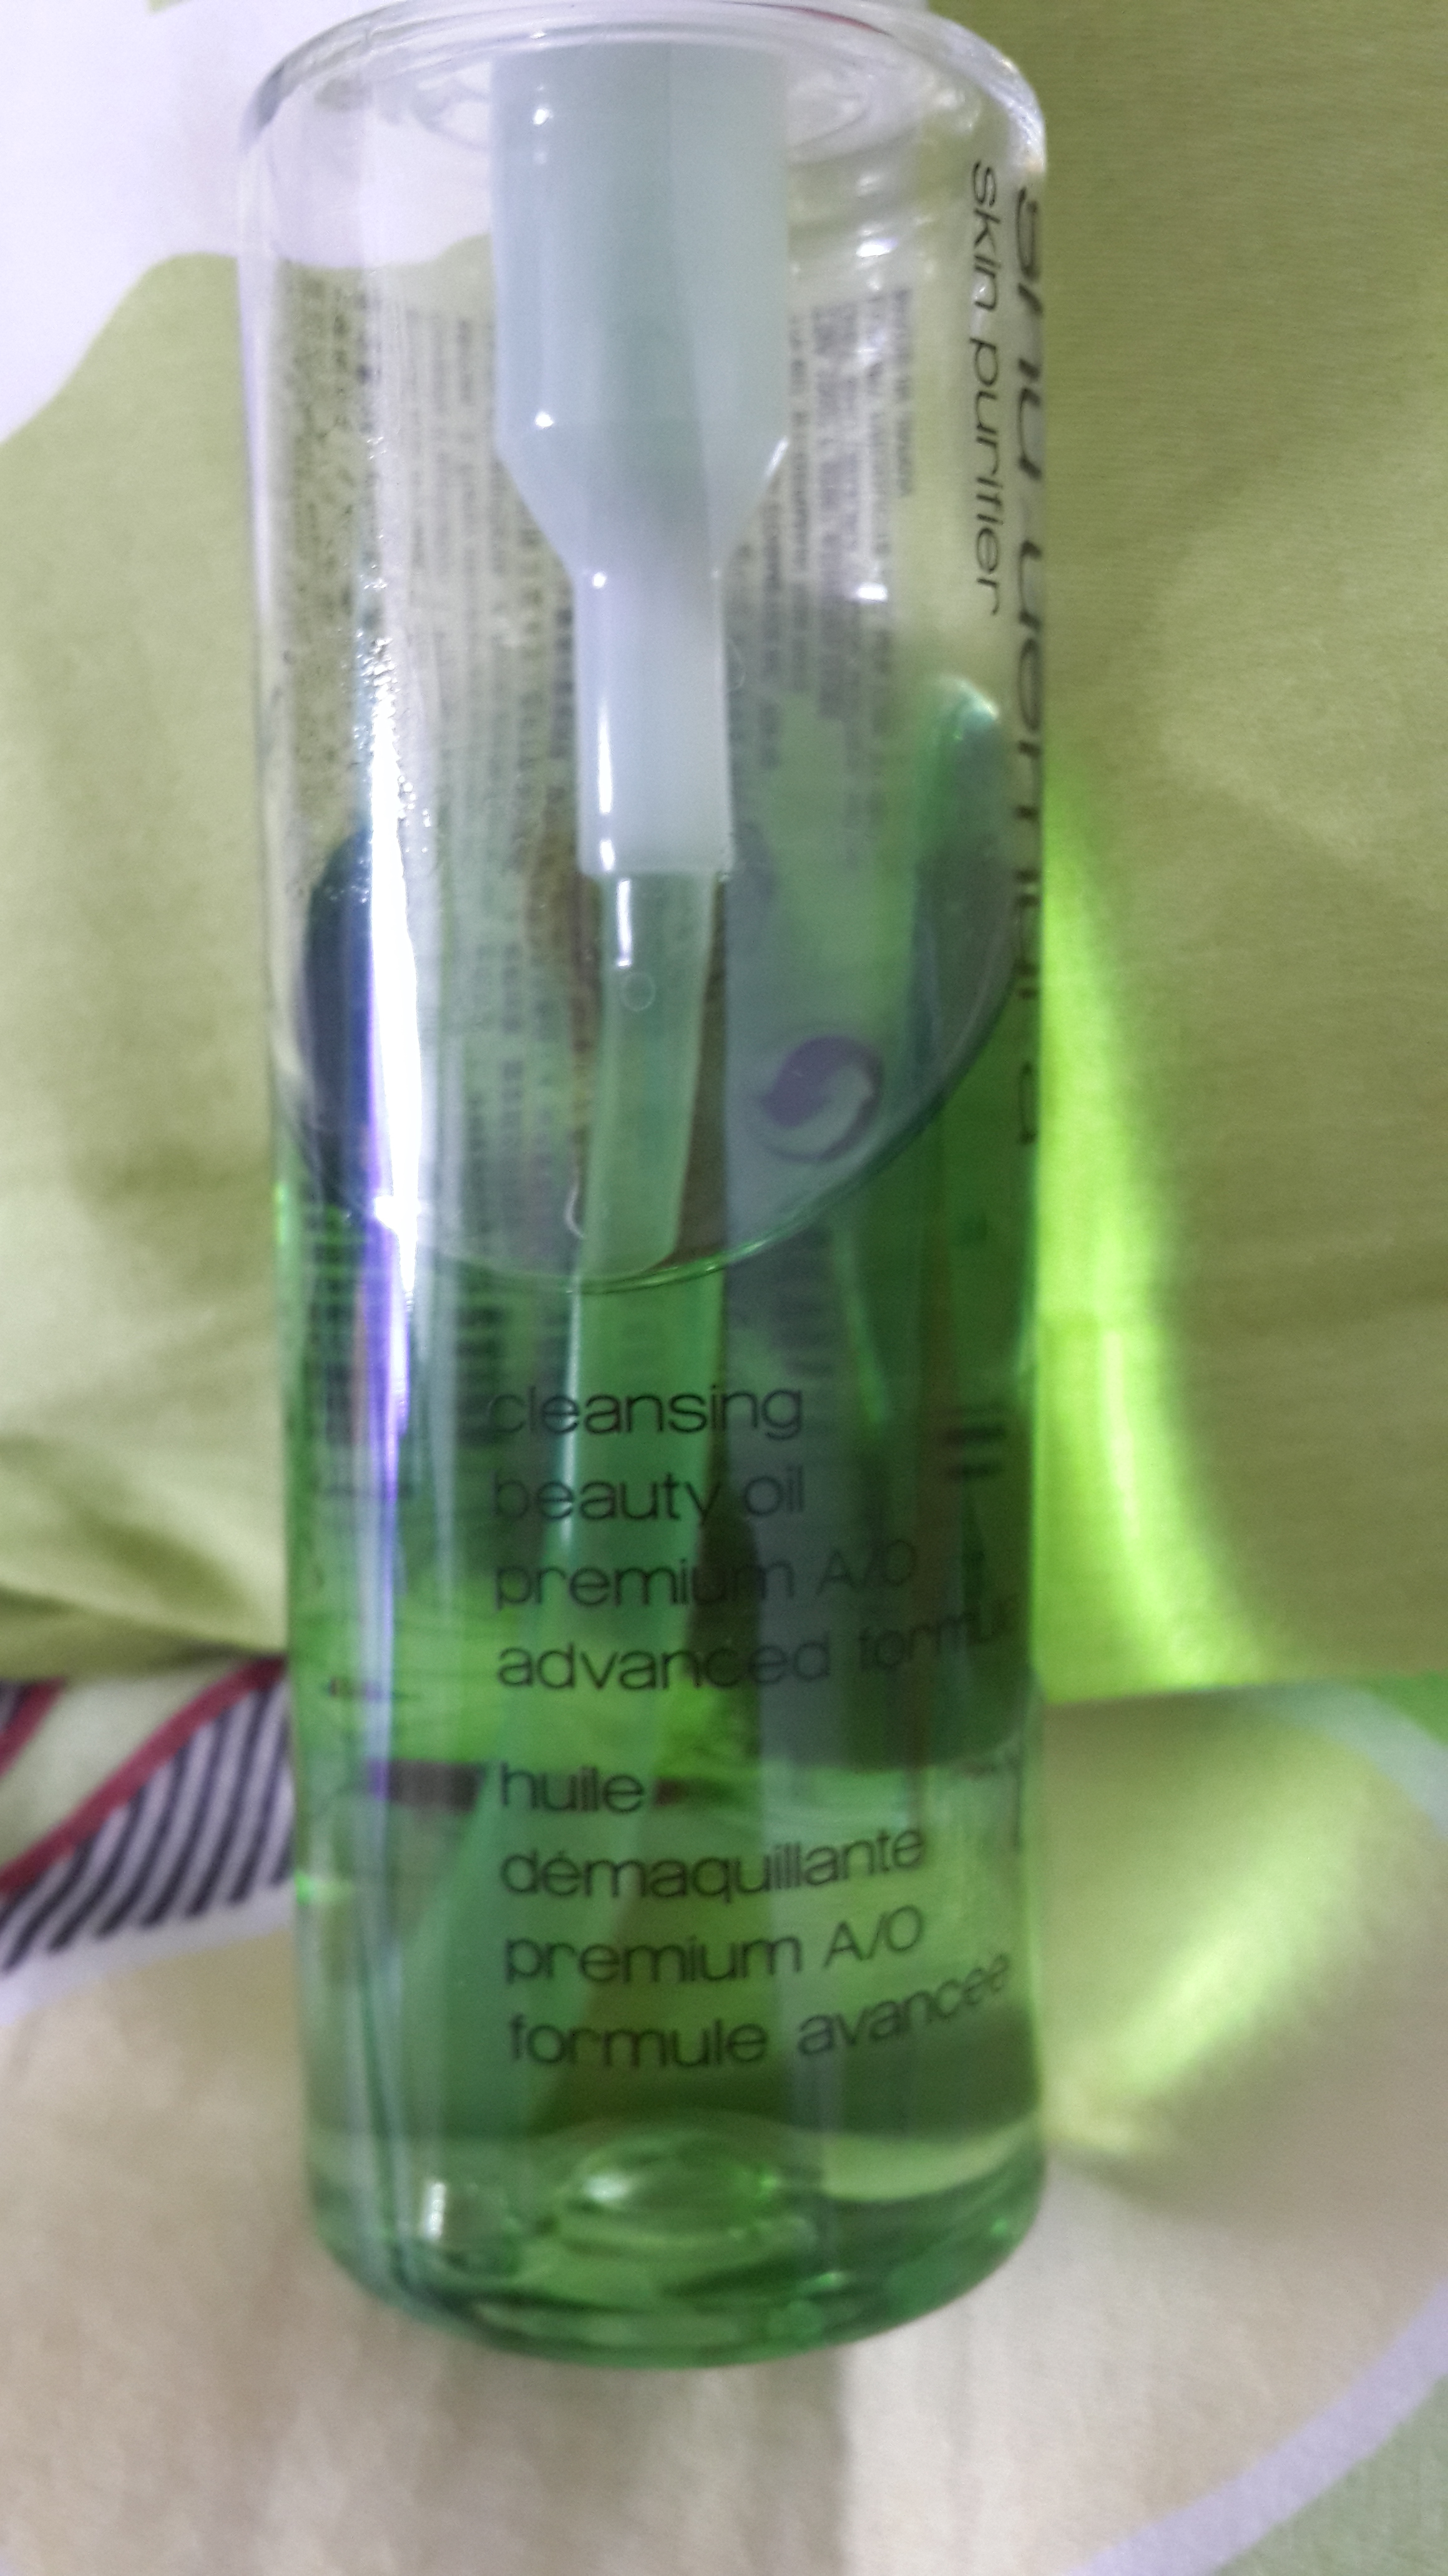
If you were wondering about the slightly different packaging, mine was the old packaging, with all-gold cap. Estee Lauder Double Wear Light Stay-in-Place Makeup SPF10 comes in a tube with a small nozzle. The opening is small enough so as to give controlled amount of product dispensed. However, like any other tube packaging, you have to be extra careful when bringing this out on traveling, especially if it involved traveling by air. The pressure change might cause a little explosion, so beware (personal experience).
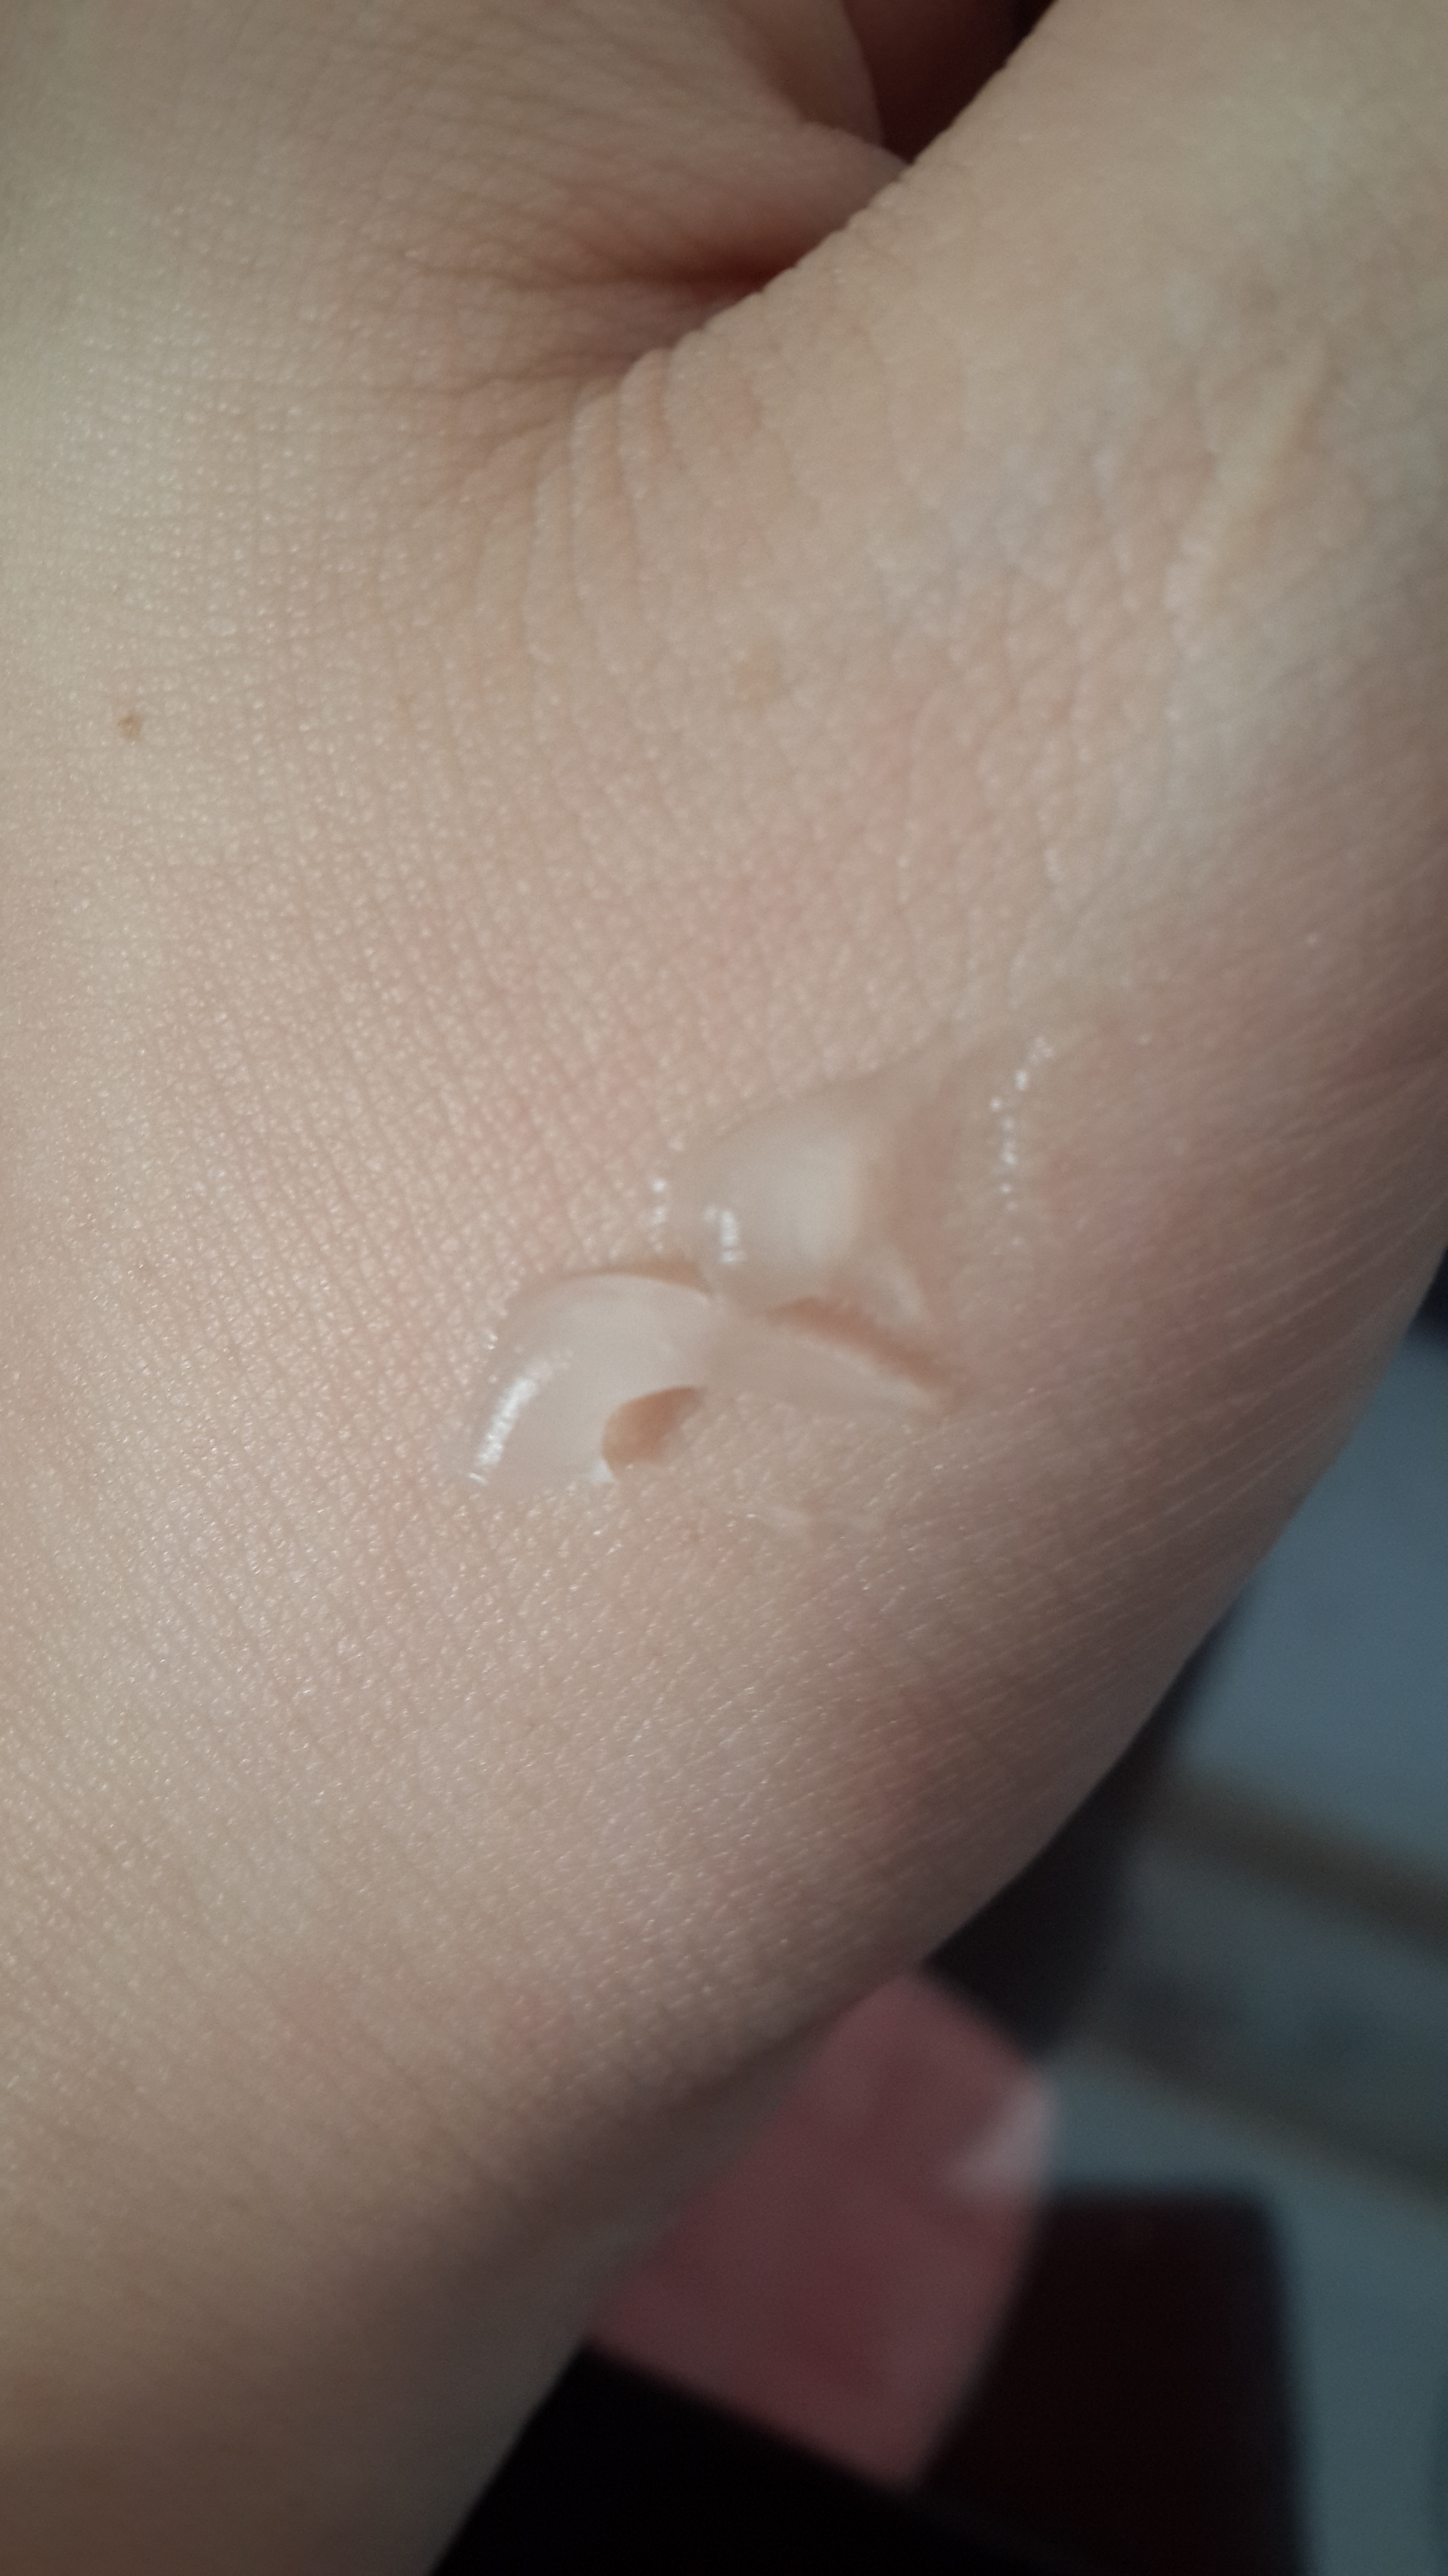
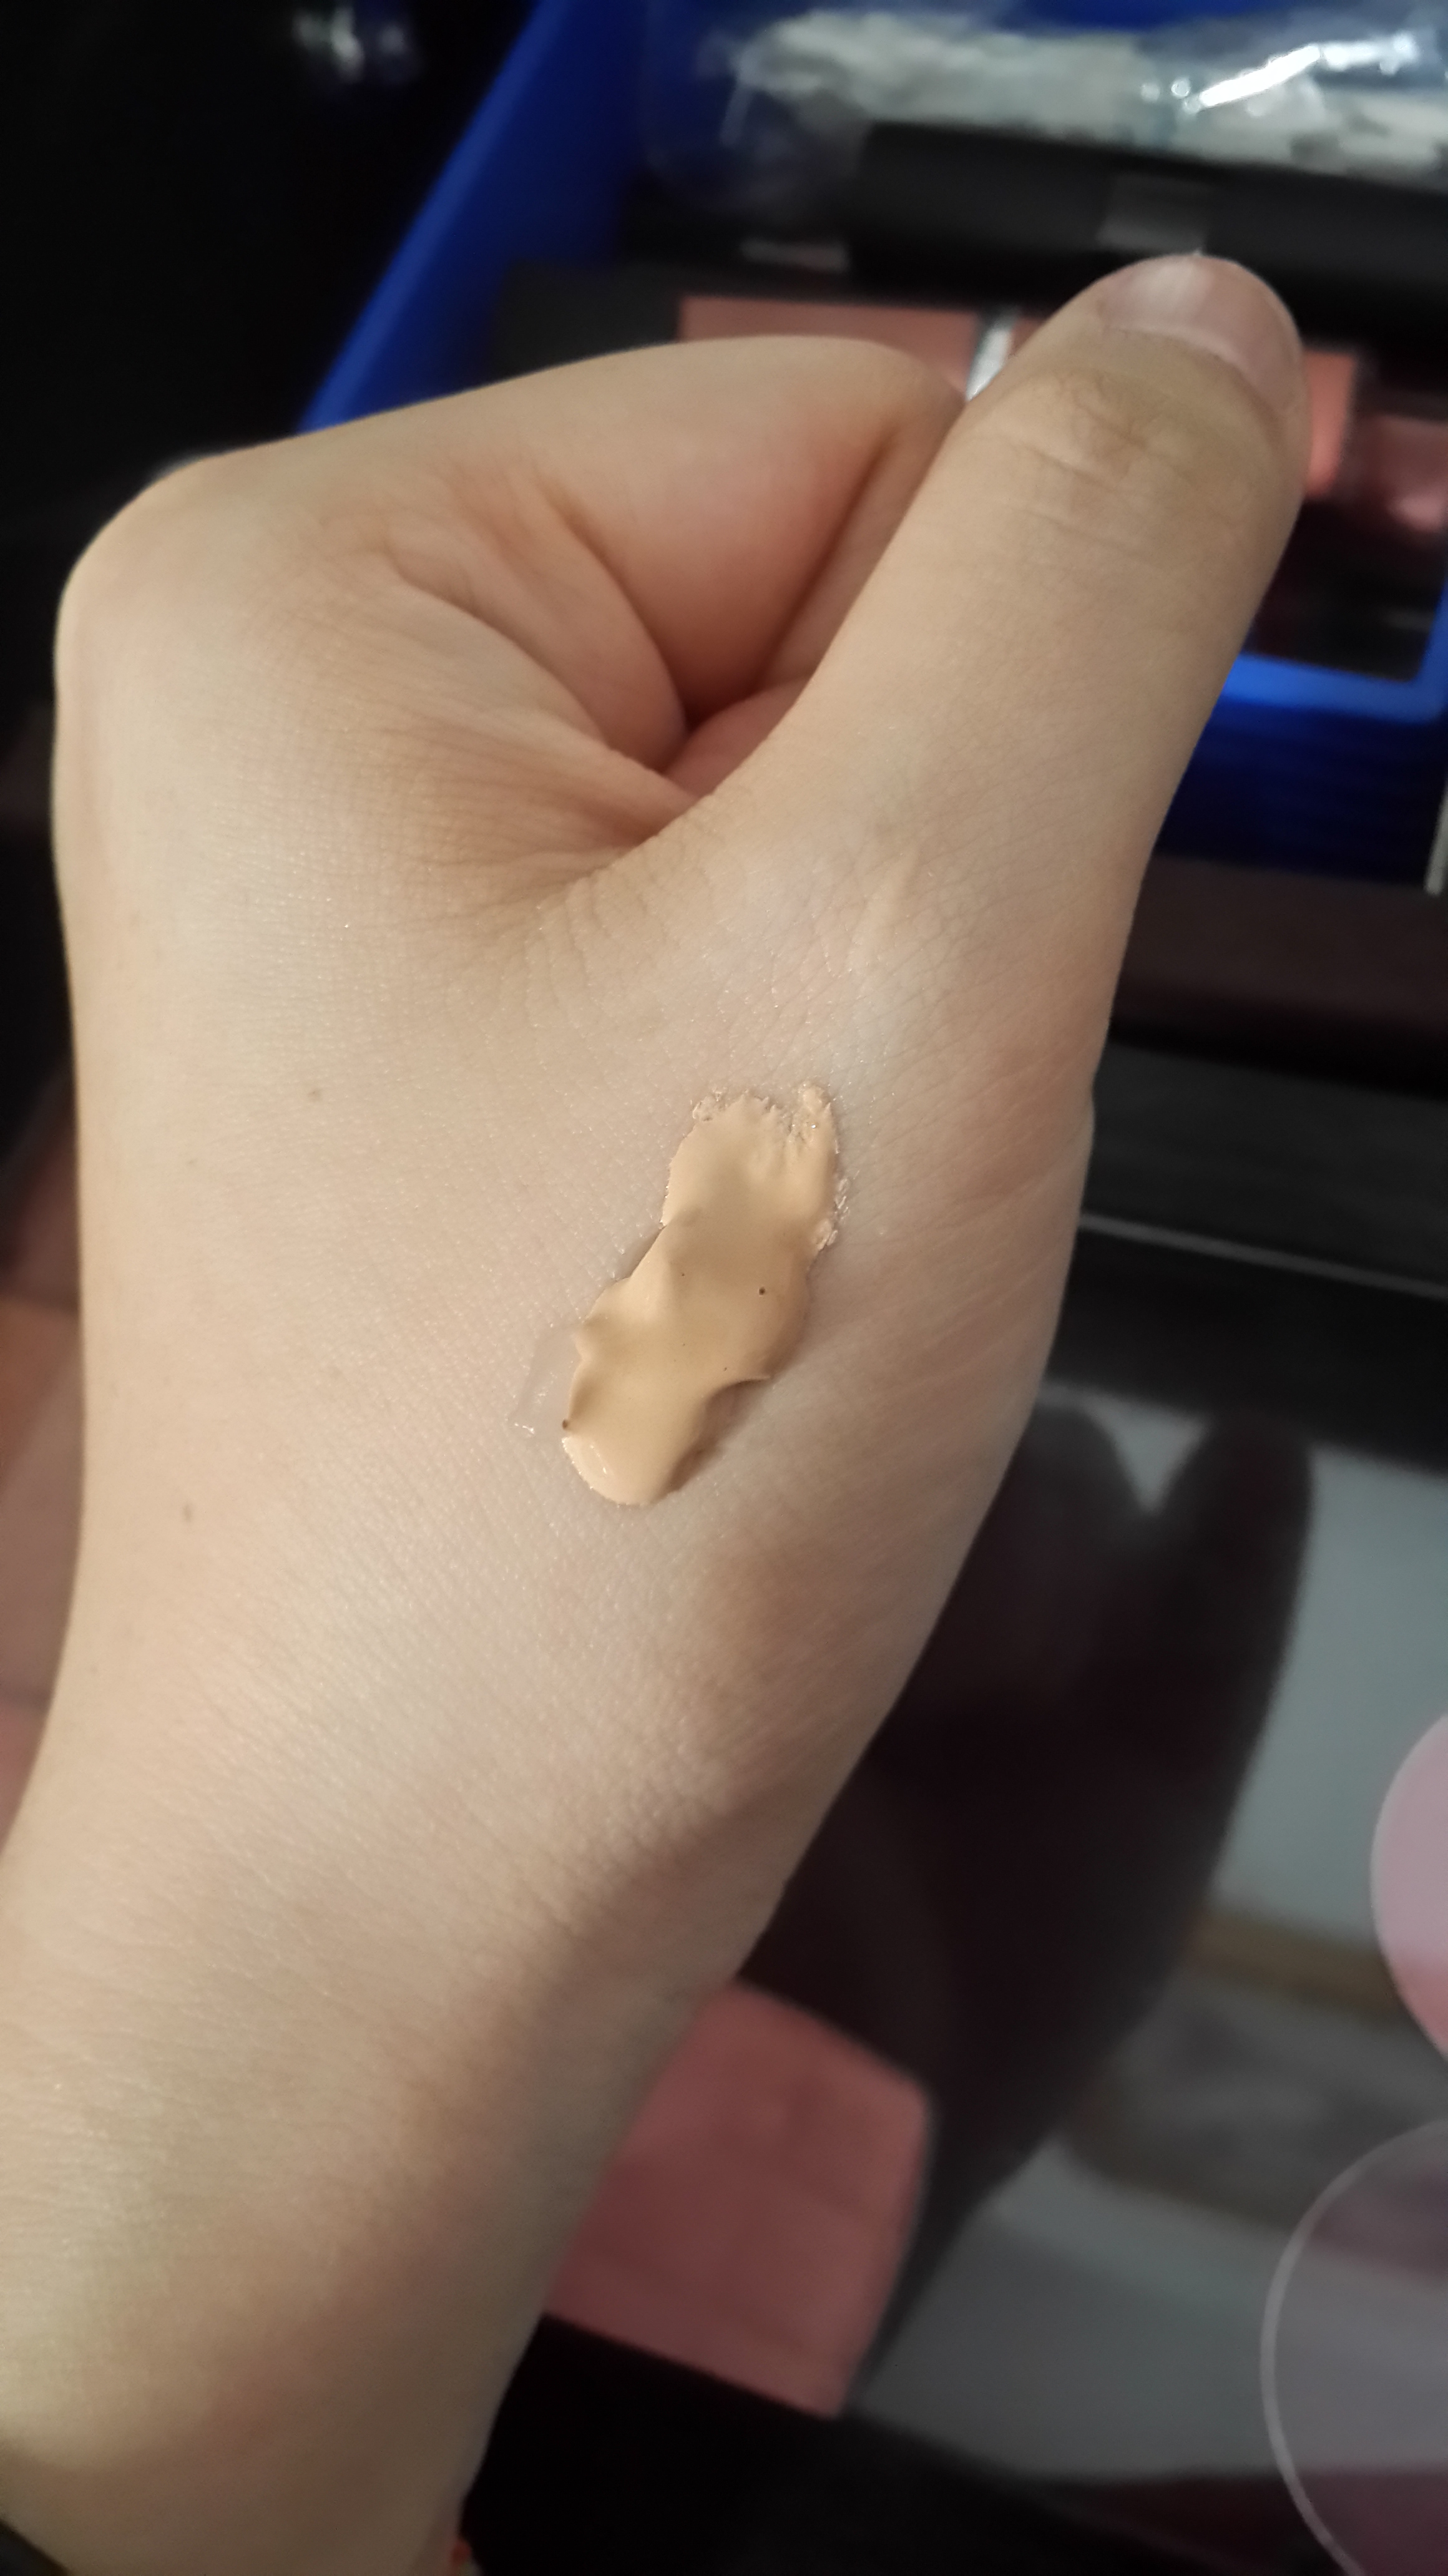
Estee Lauder Double Wear Light is the lighter counterpart of its heavy duty best selling Double Wear. Double Wear Light, as its name implicates, provides a light coverage, and it’s buildable up to medium coverage. The texture, as you have seen in previous post, is quite light but not too runny with no discernible scent. It’s easily spread, but can get a little tacky. Hence me adding some silicone-based primer on every application. It has the tendency to settle into any fine lines it can find, so the primer helps to counter this side-effect. For such a light texture, I’m surprised it always sink into my fine lines *sigh*. It has SPF10, but in our tropical country such meager sun protection is surely not enough, so please wear a separate sunscreen underneath.
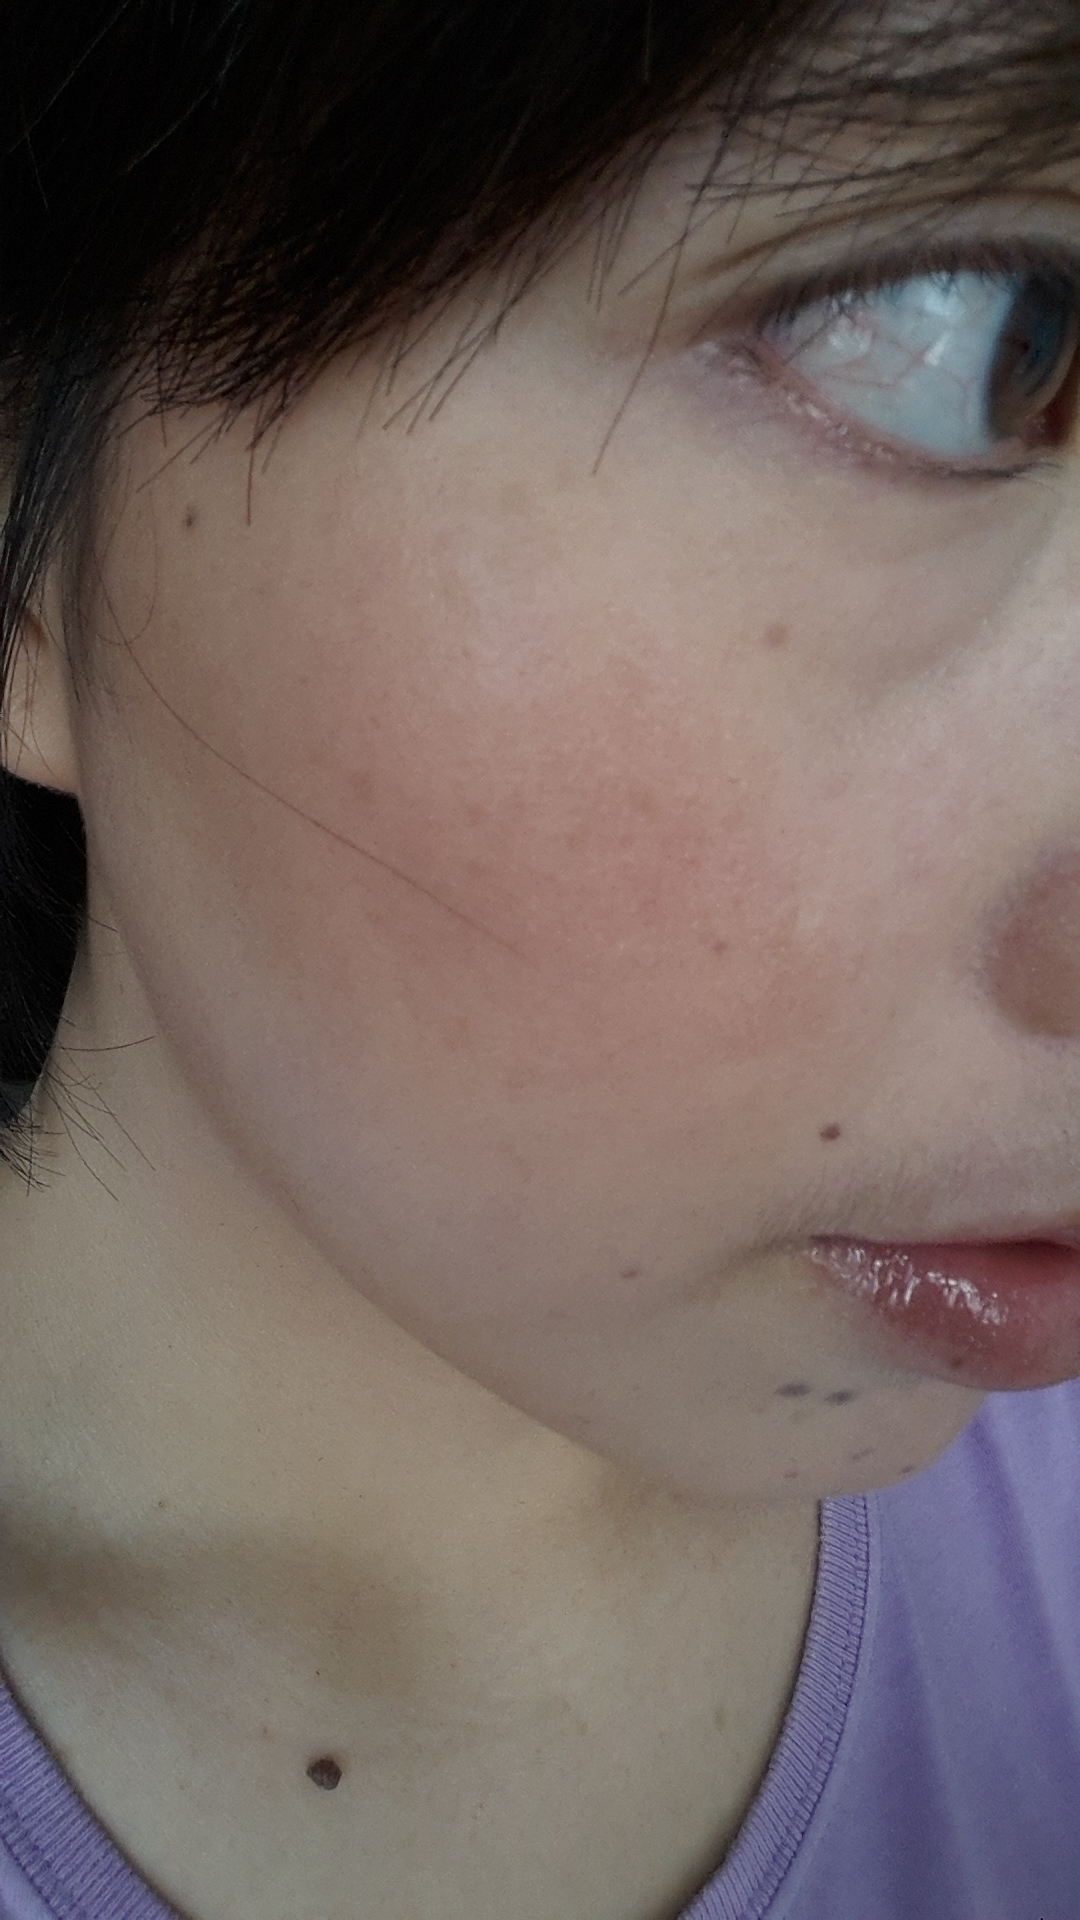
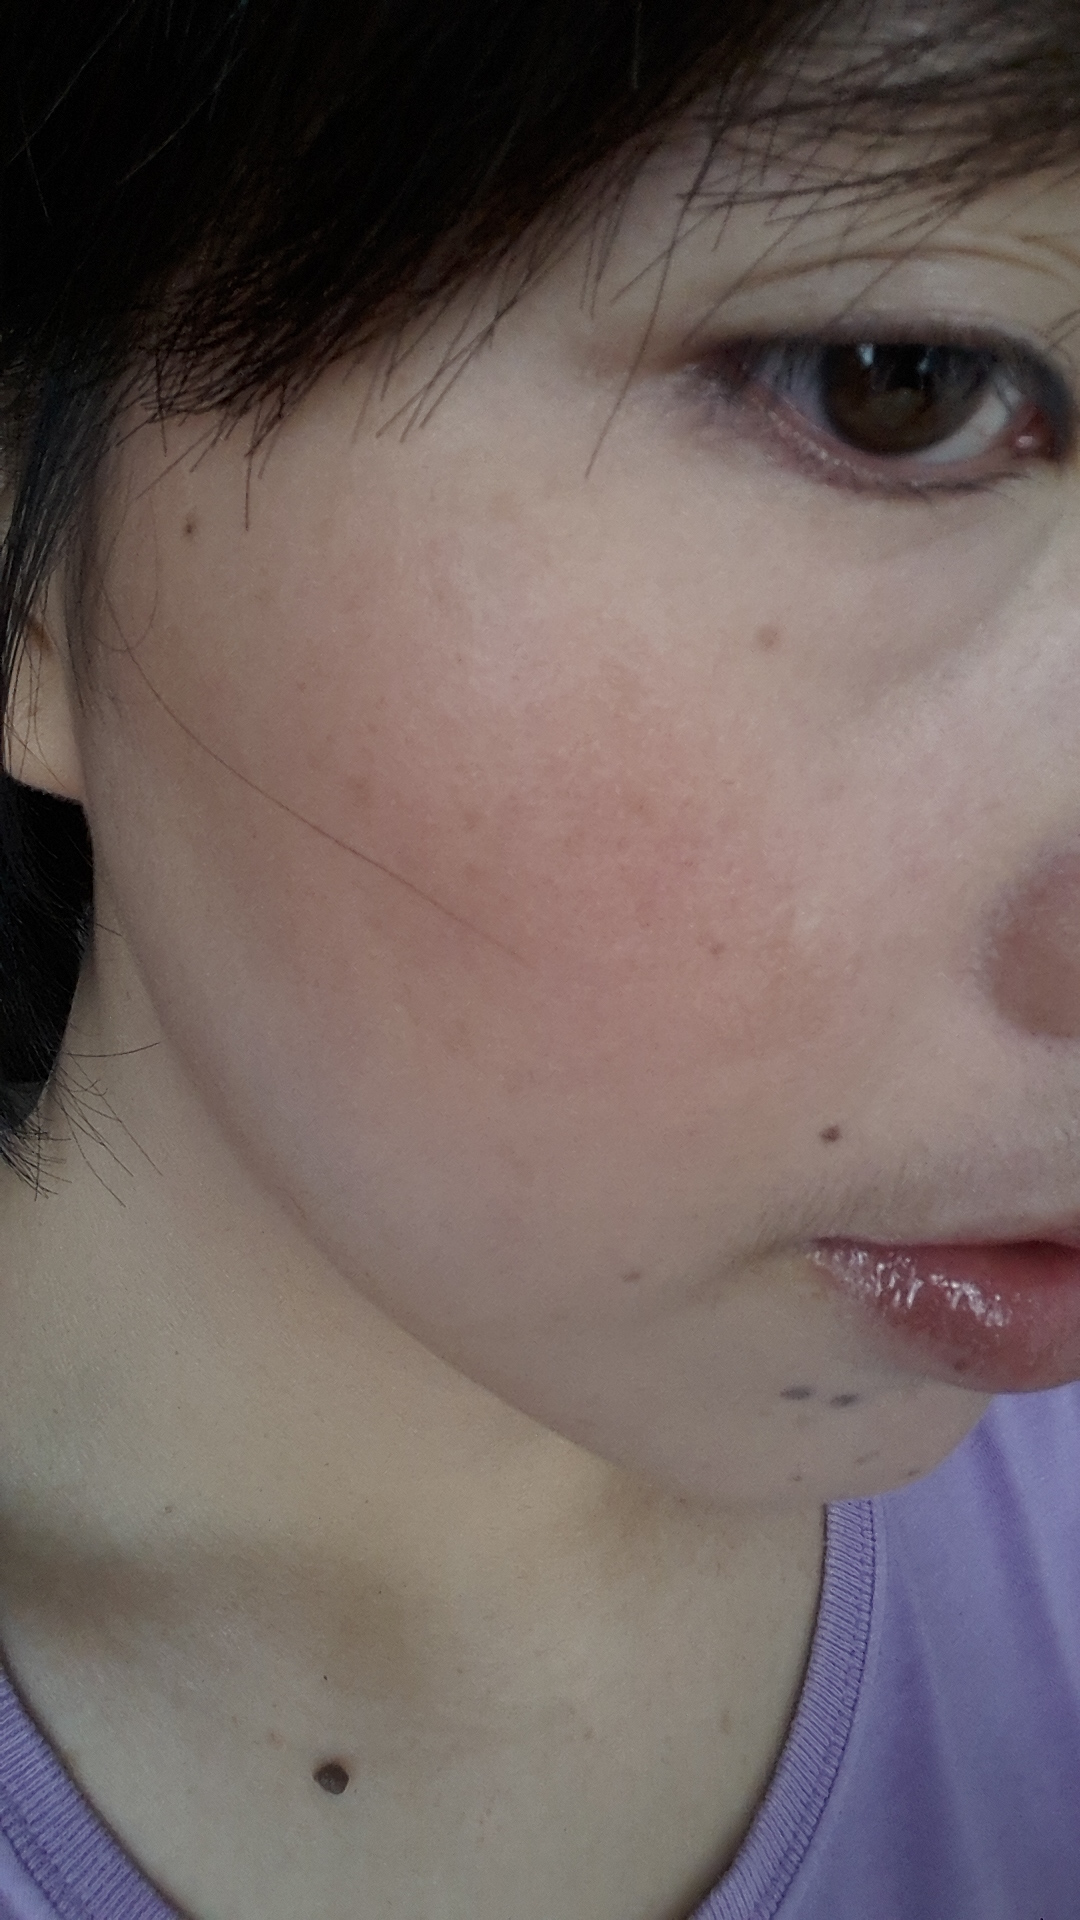
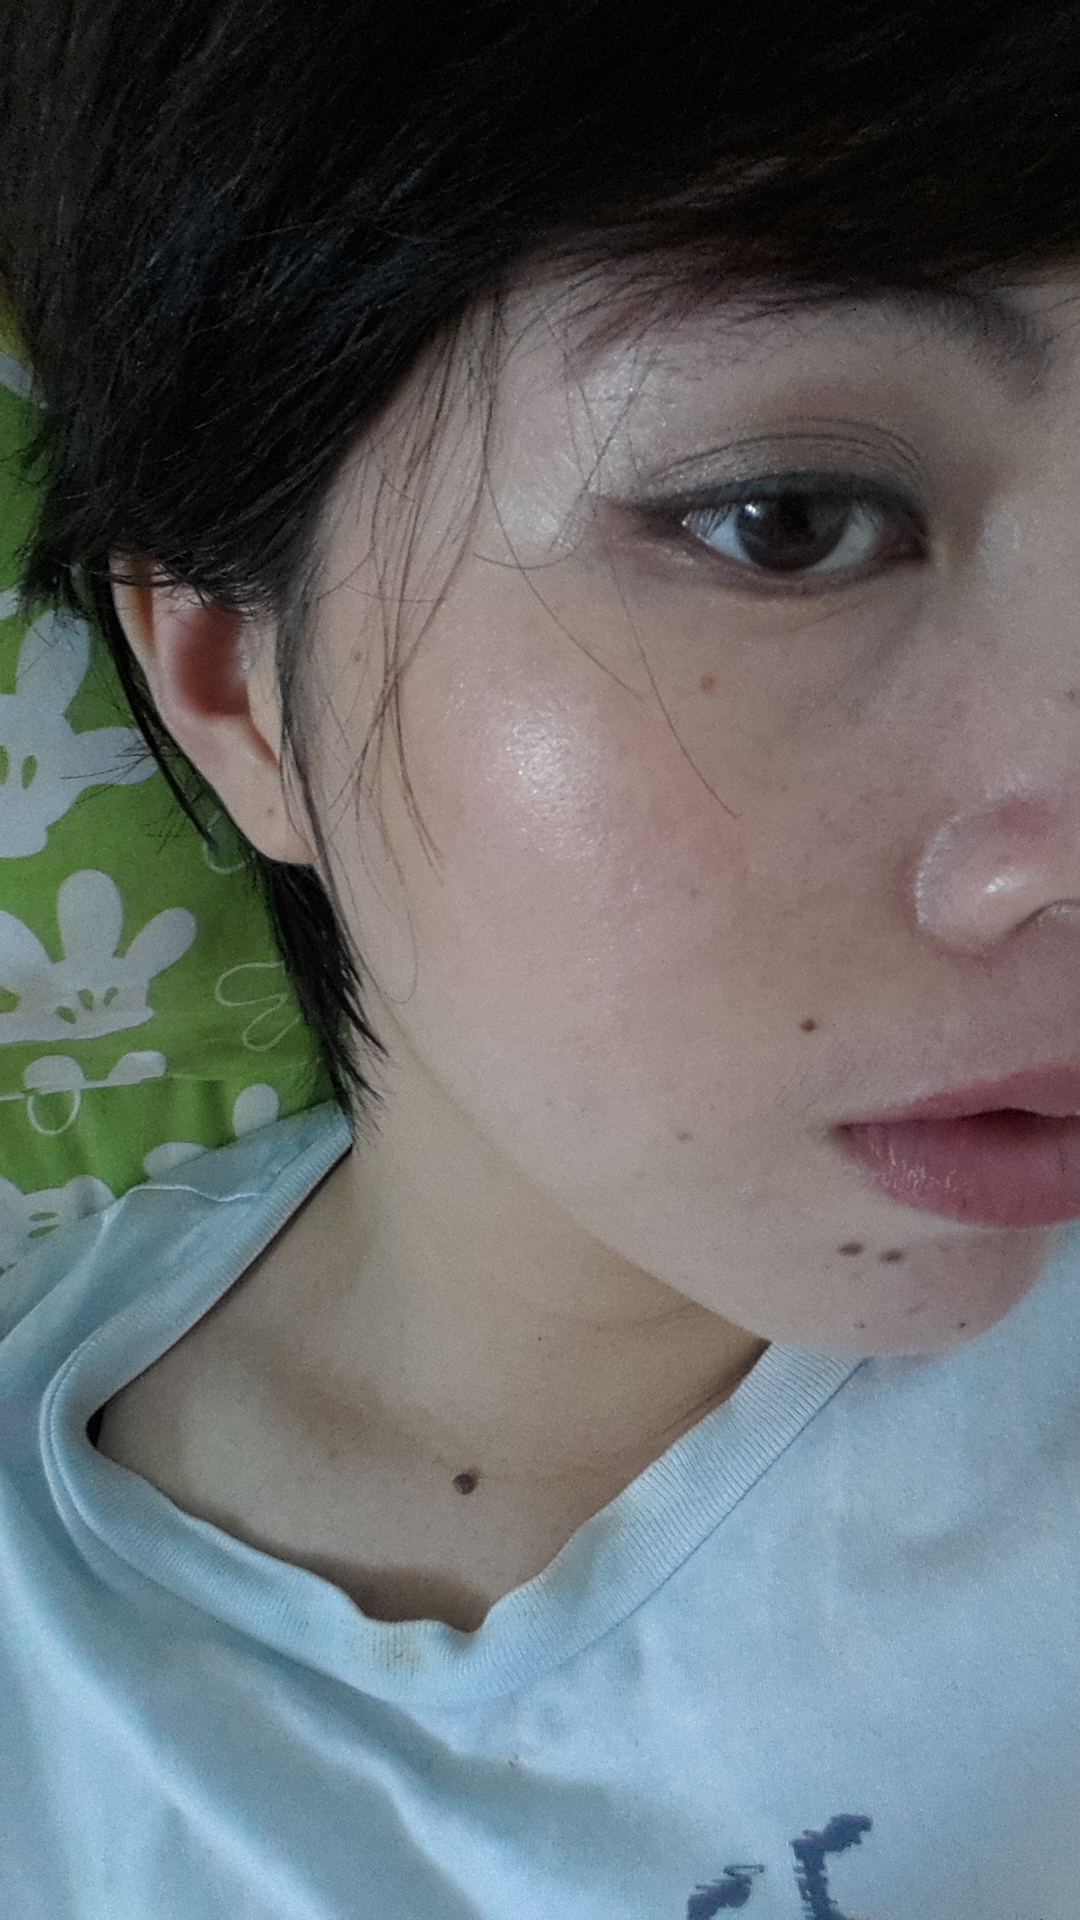
The coverage is enough to cover my pigmentation without looking to cakey. With light application, it immediately evens out my skintone. Any redness around my nose and cheeks are immediately neutralized. The finish is semi-matte, which is what I always prefer in my base makeup. I still need to conceal my undereye dark circles though as the foundation only manages to cover a tad bit of it. The dark circles still peek through it.
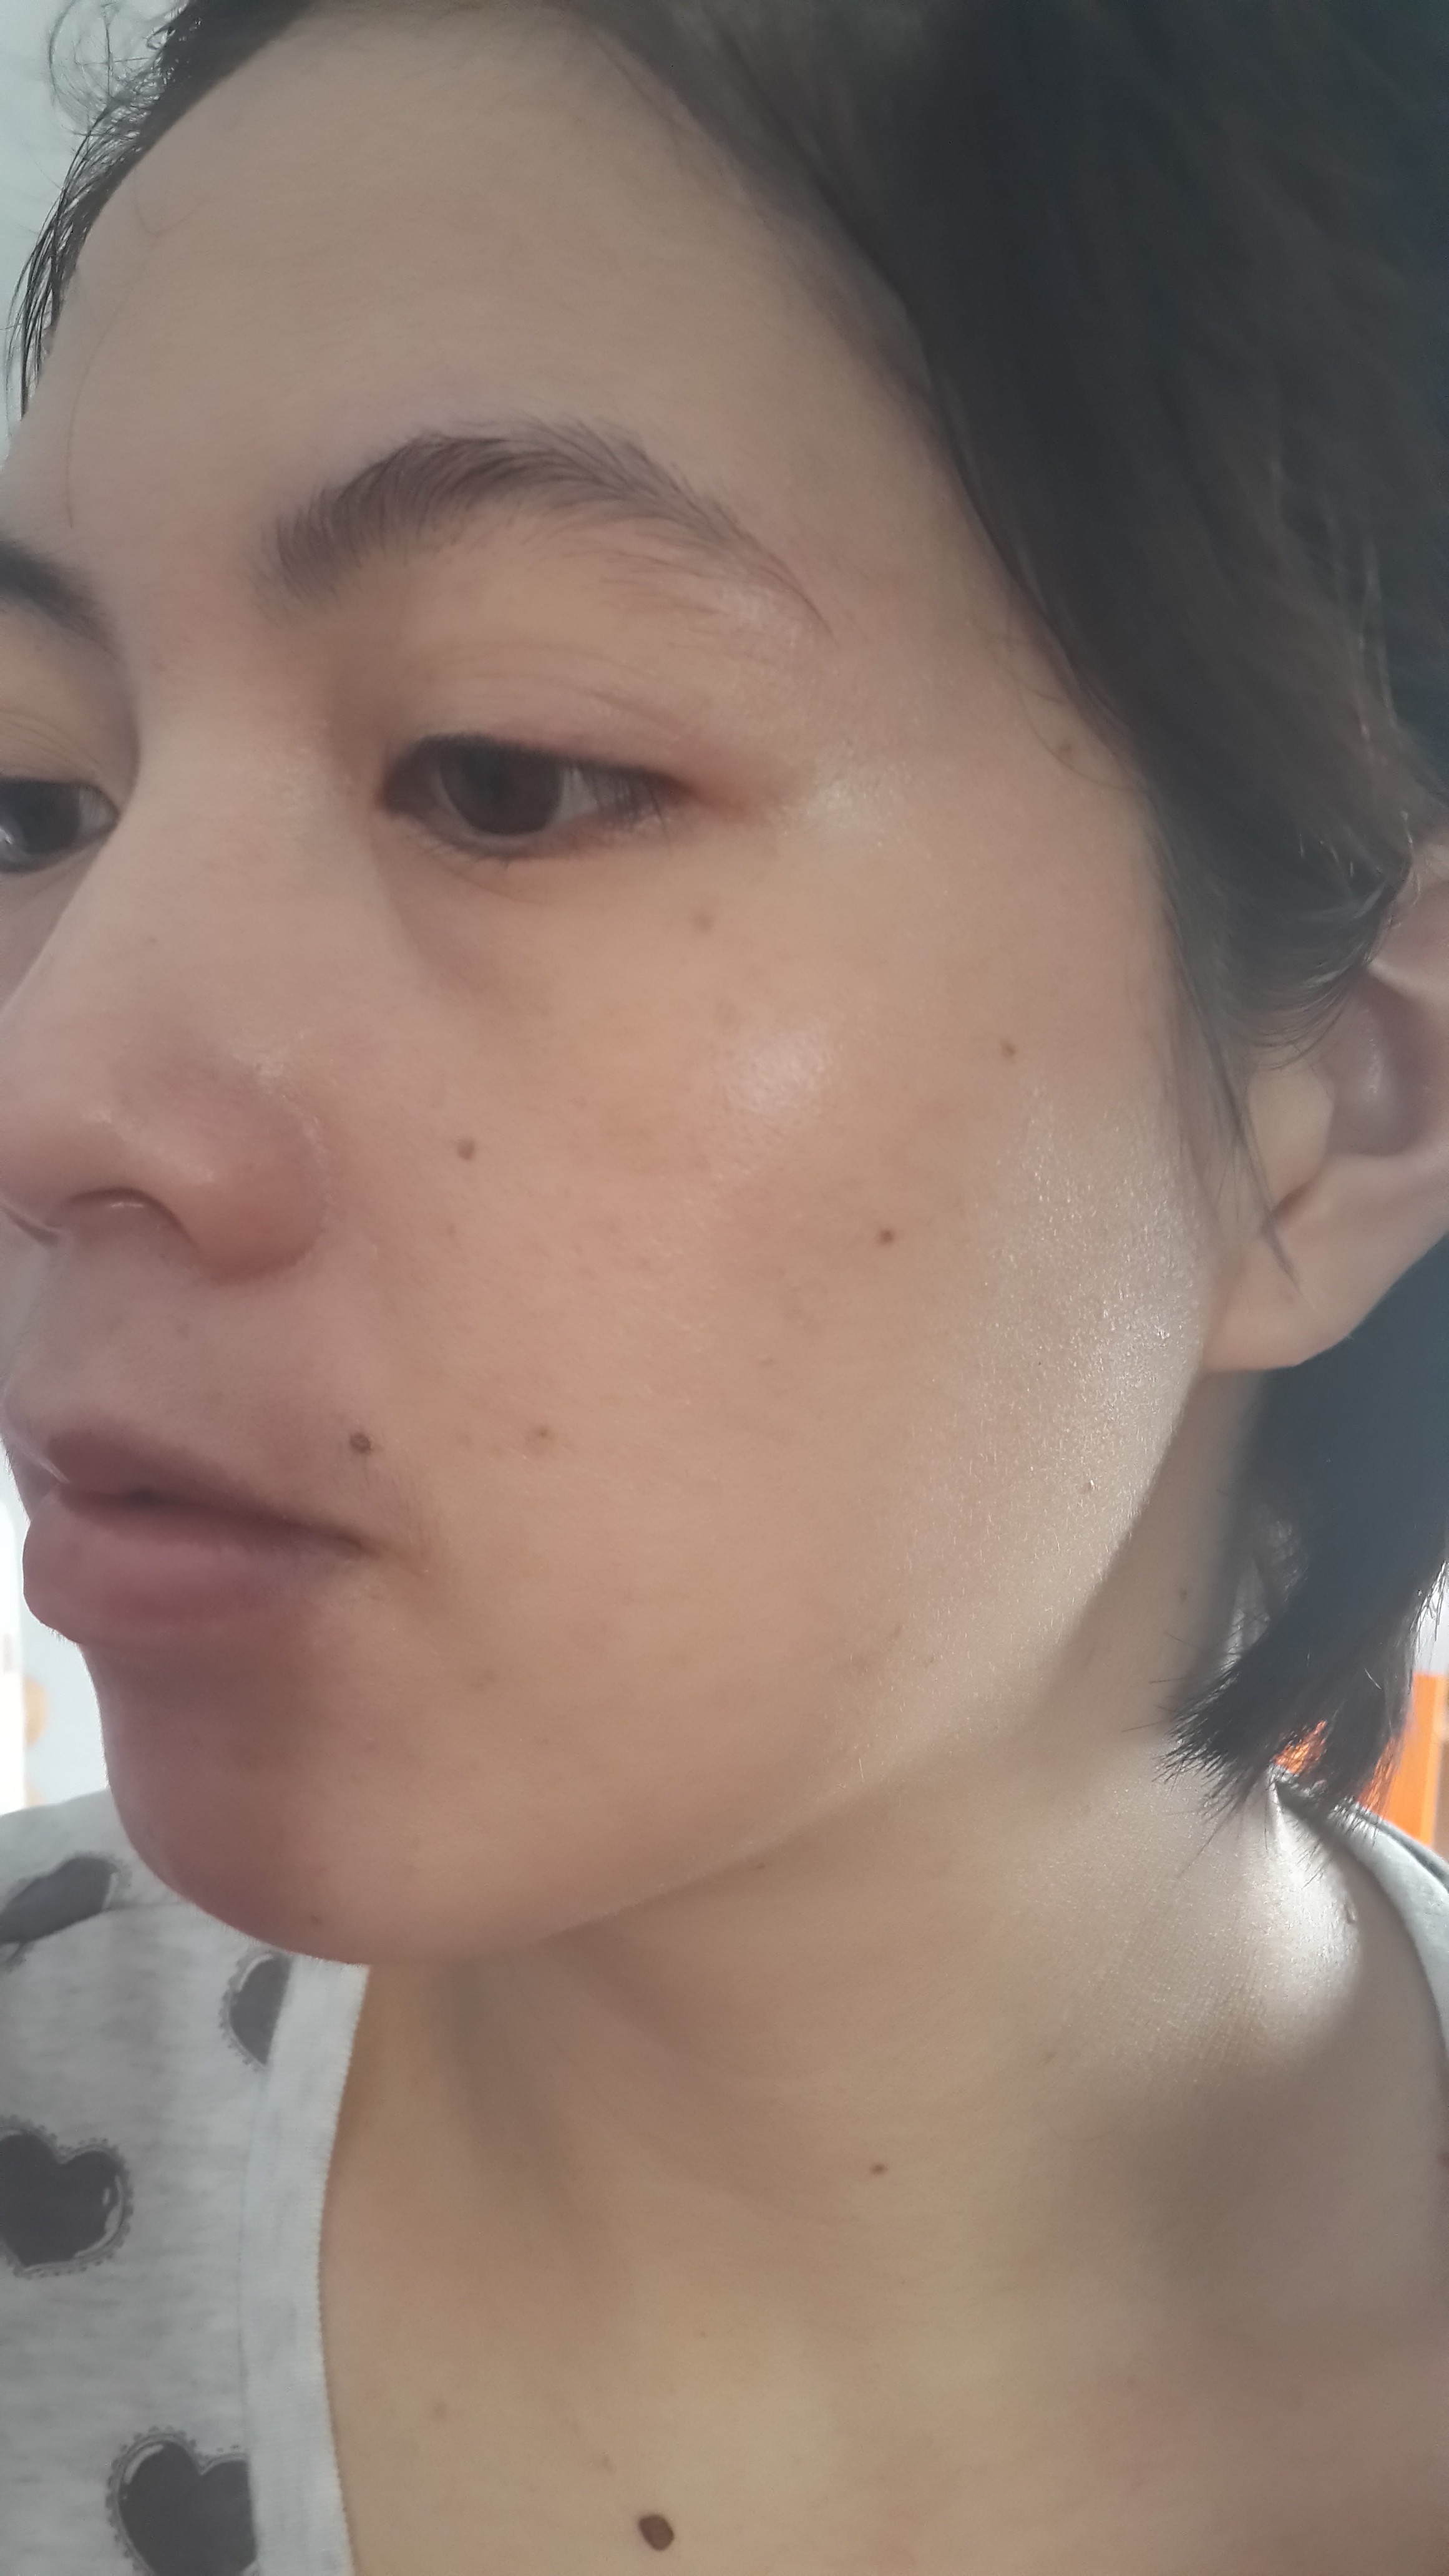
Estee Lauder Double Wear Light in Action

Estee Lauder Double Wear Light in Action
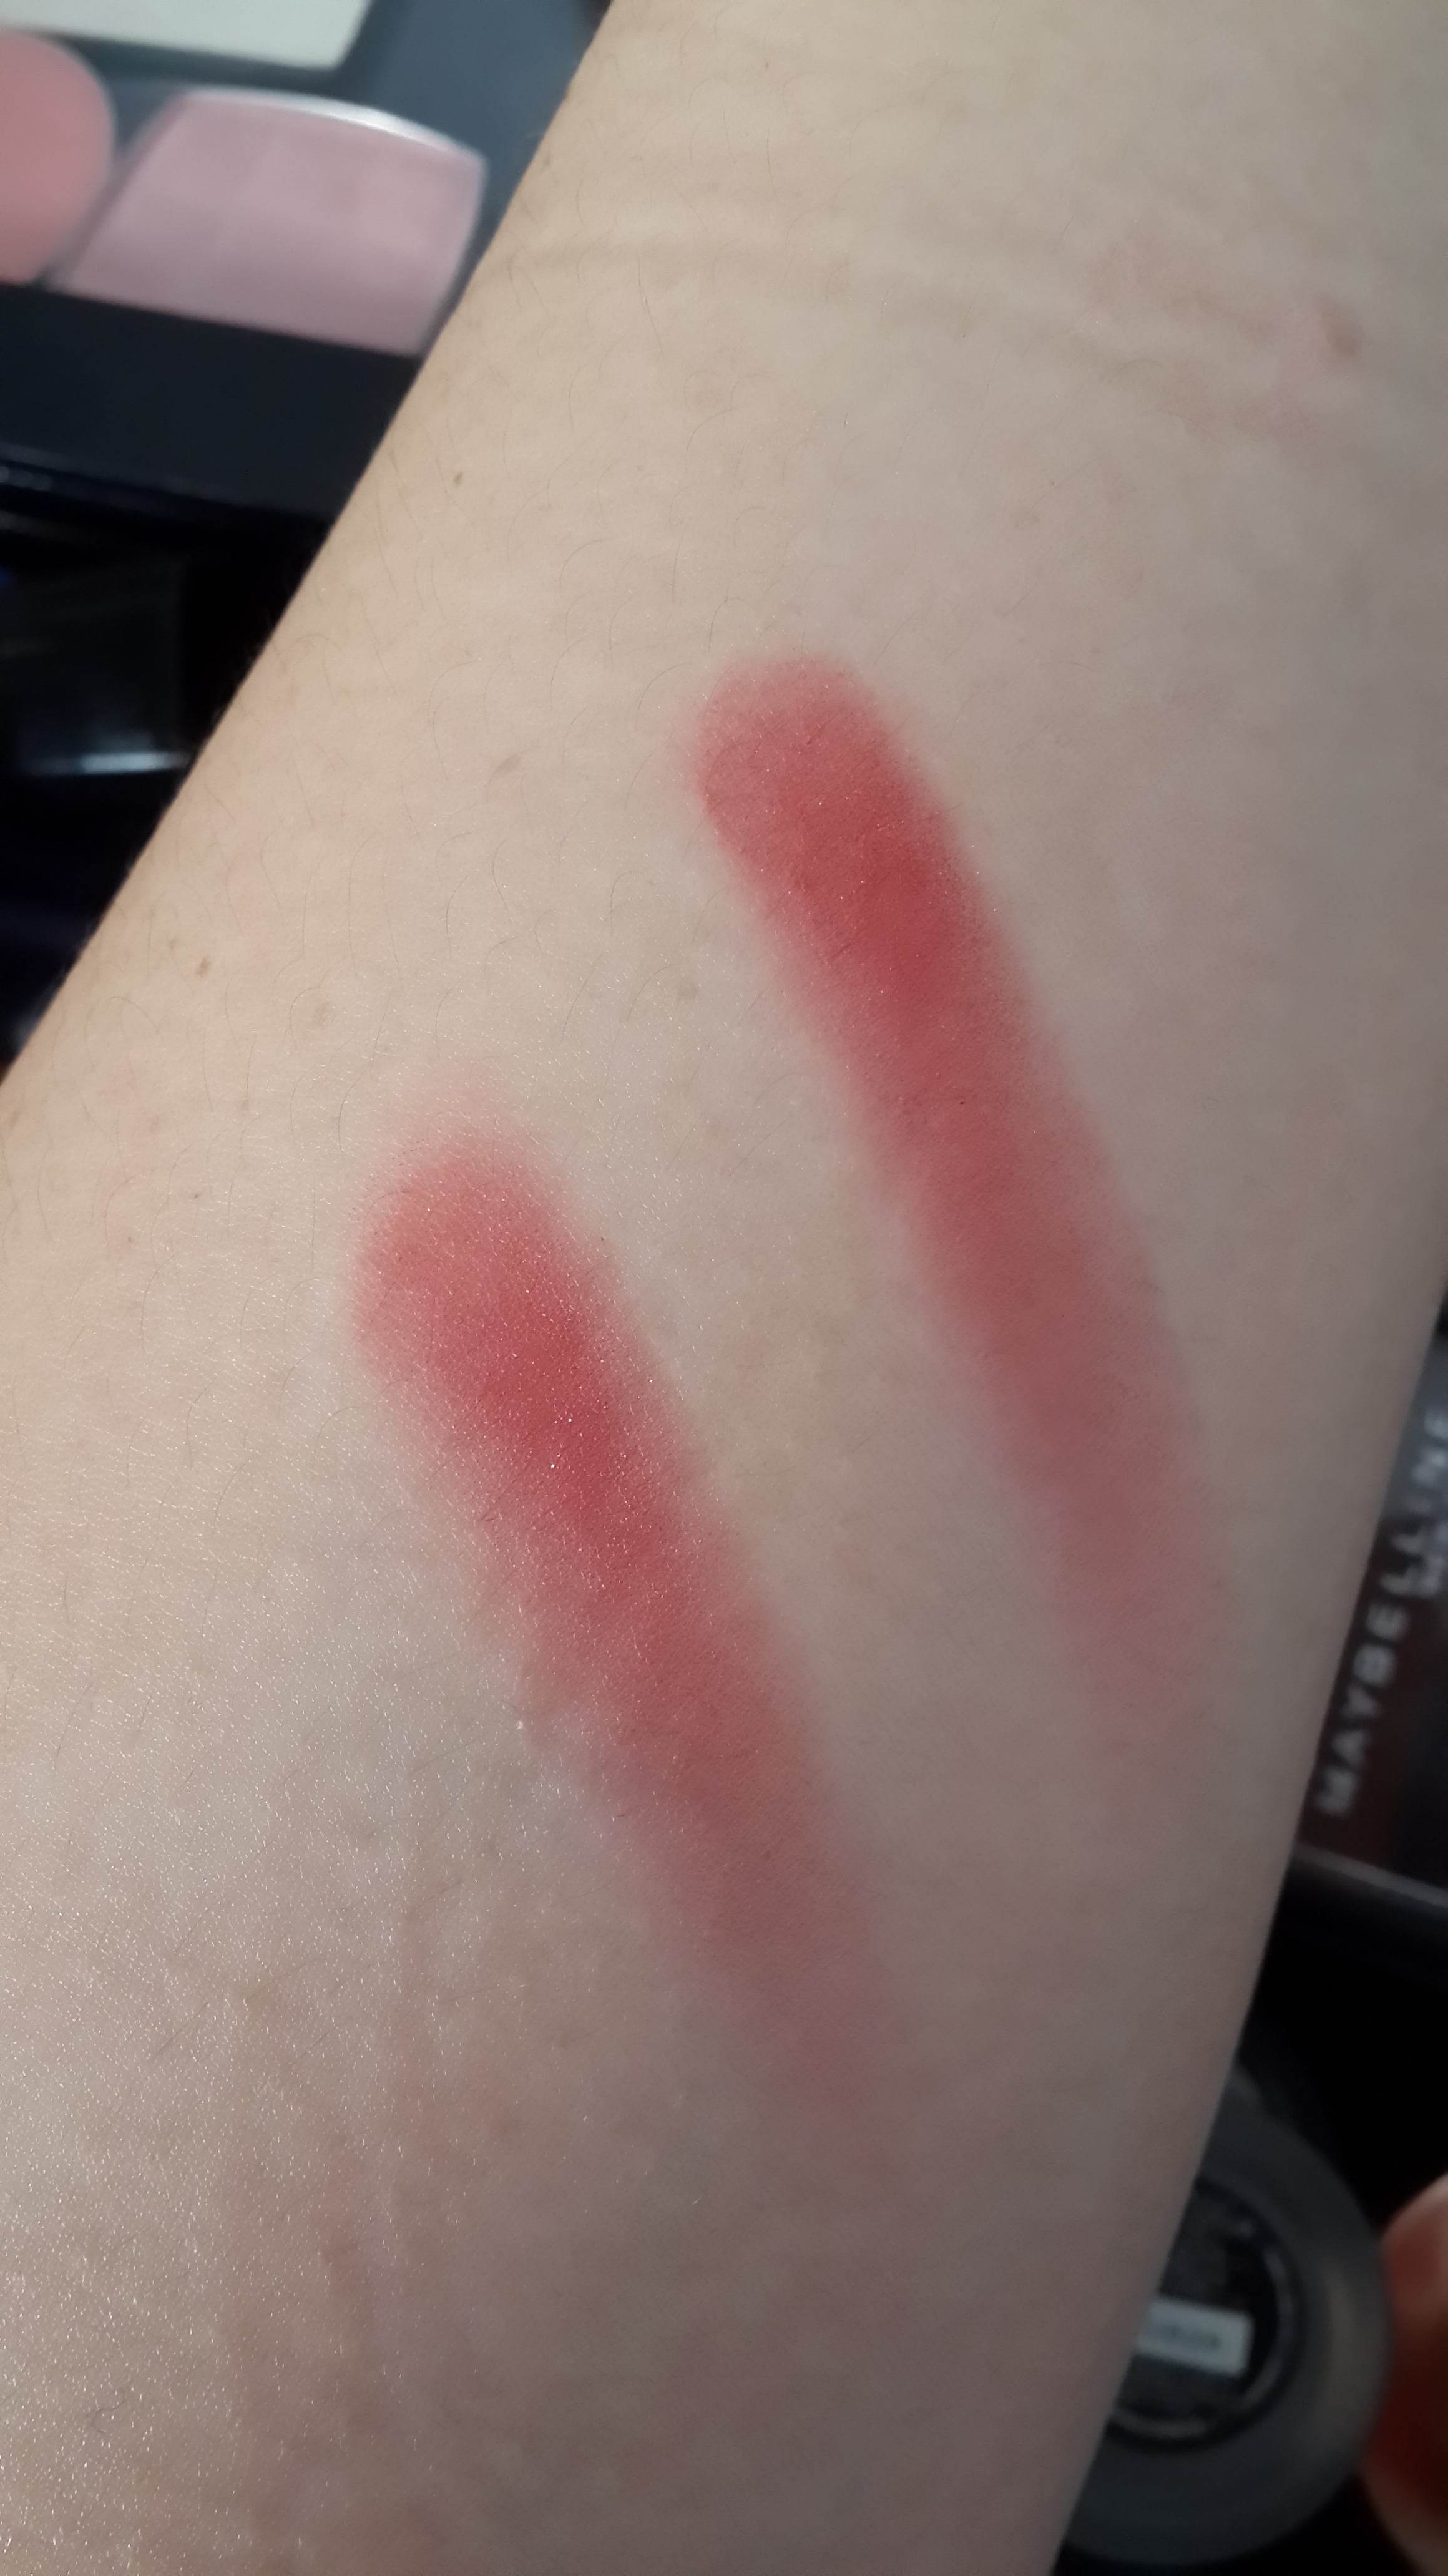
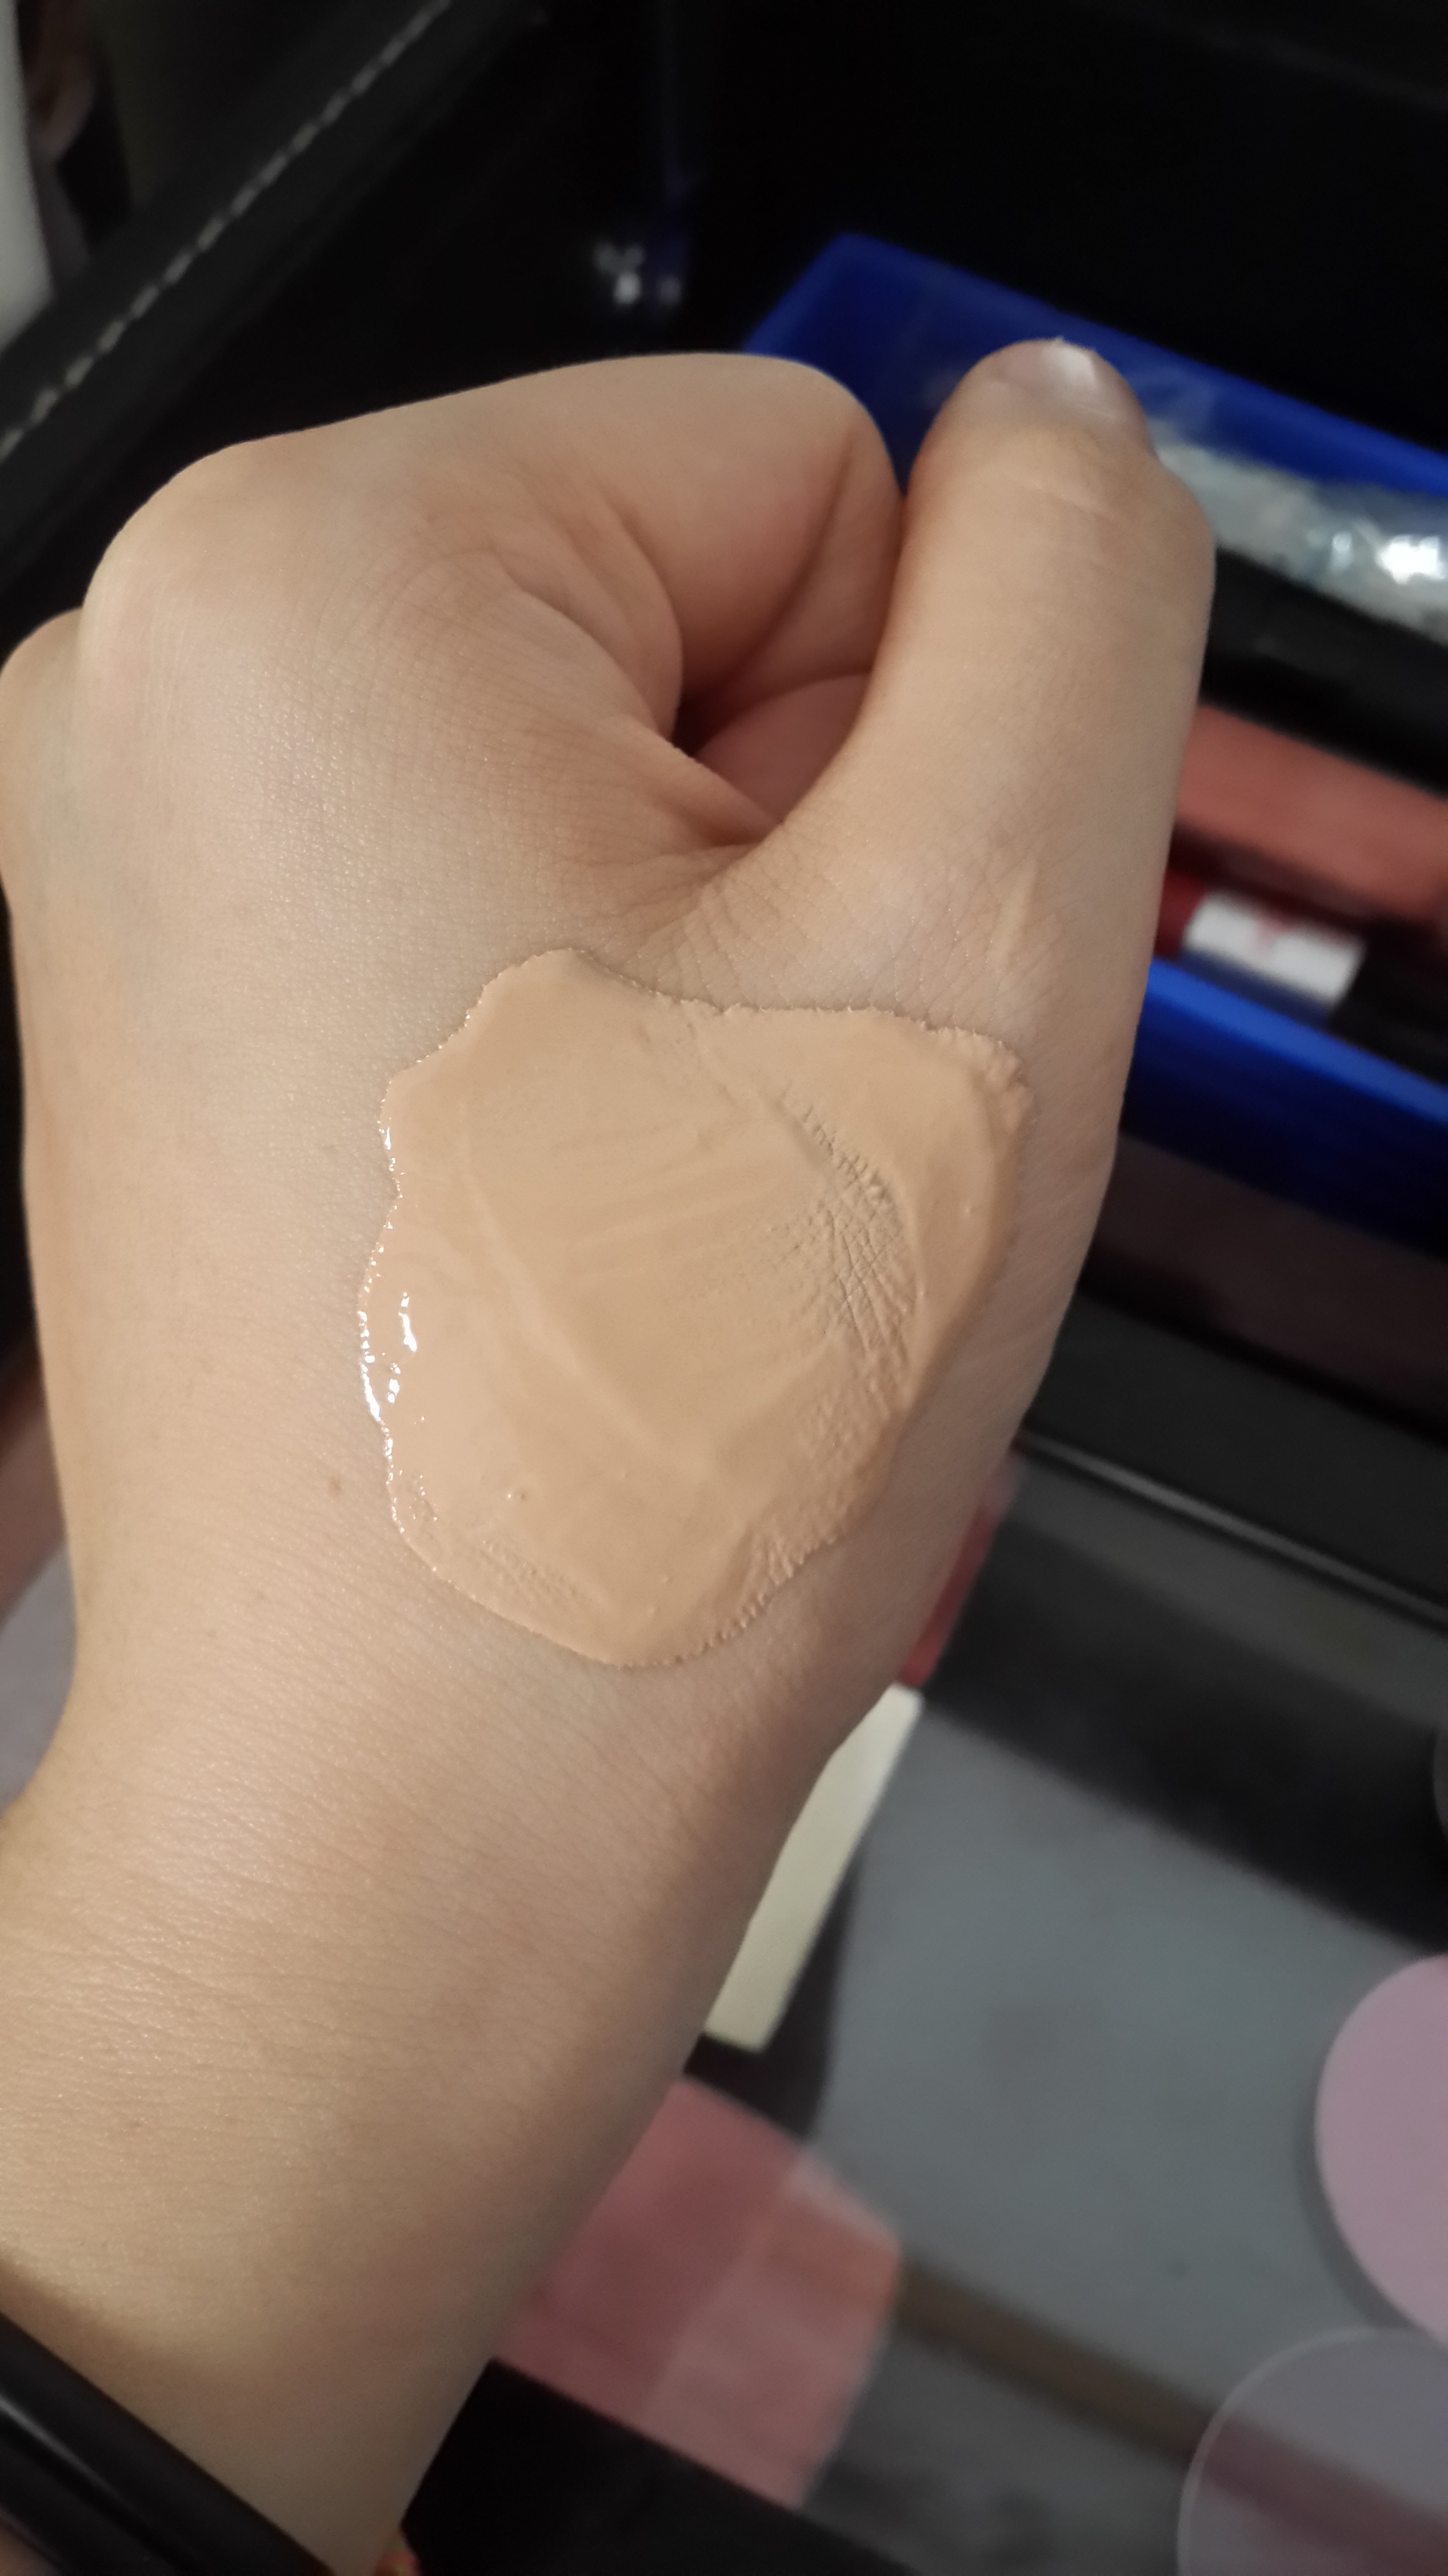
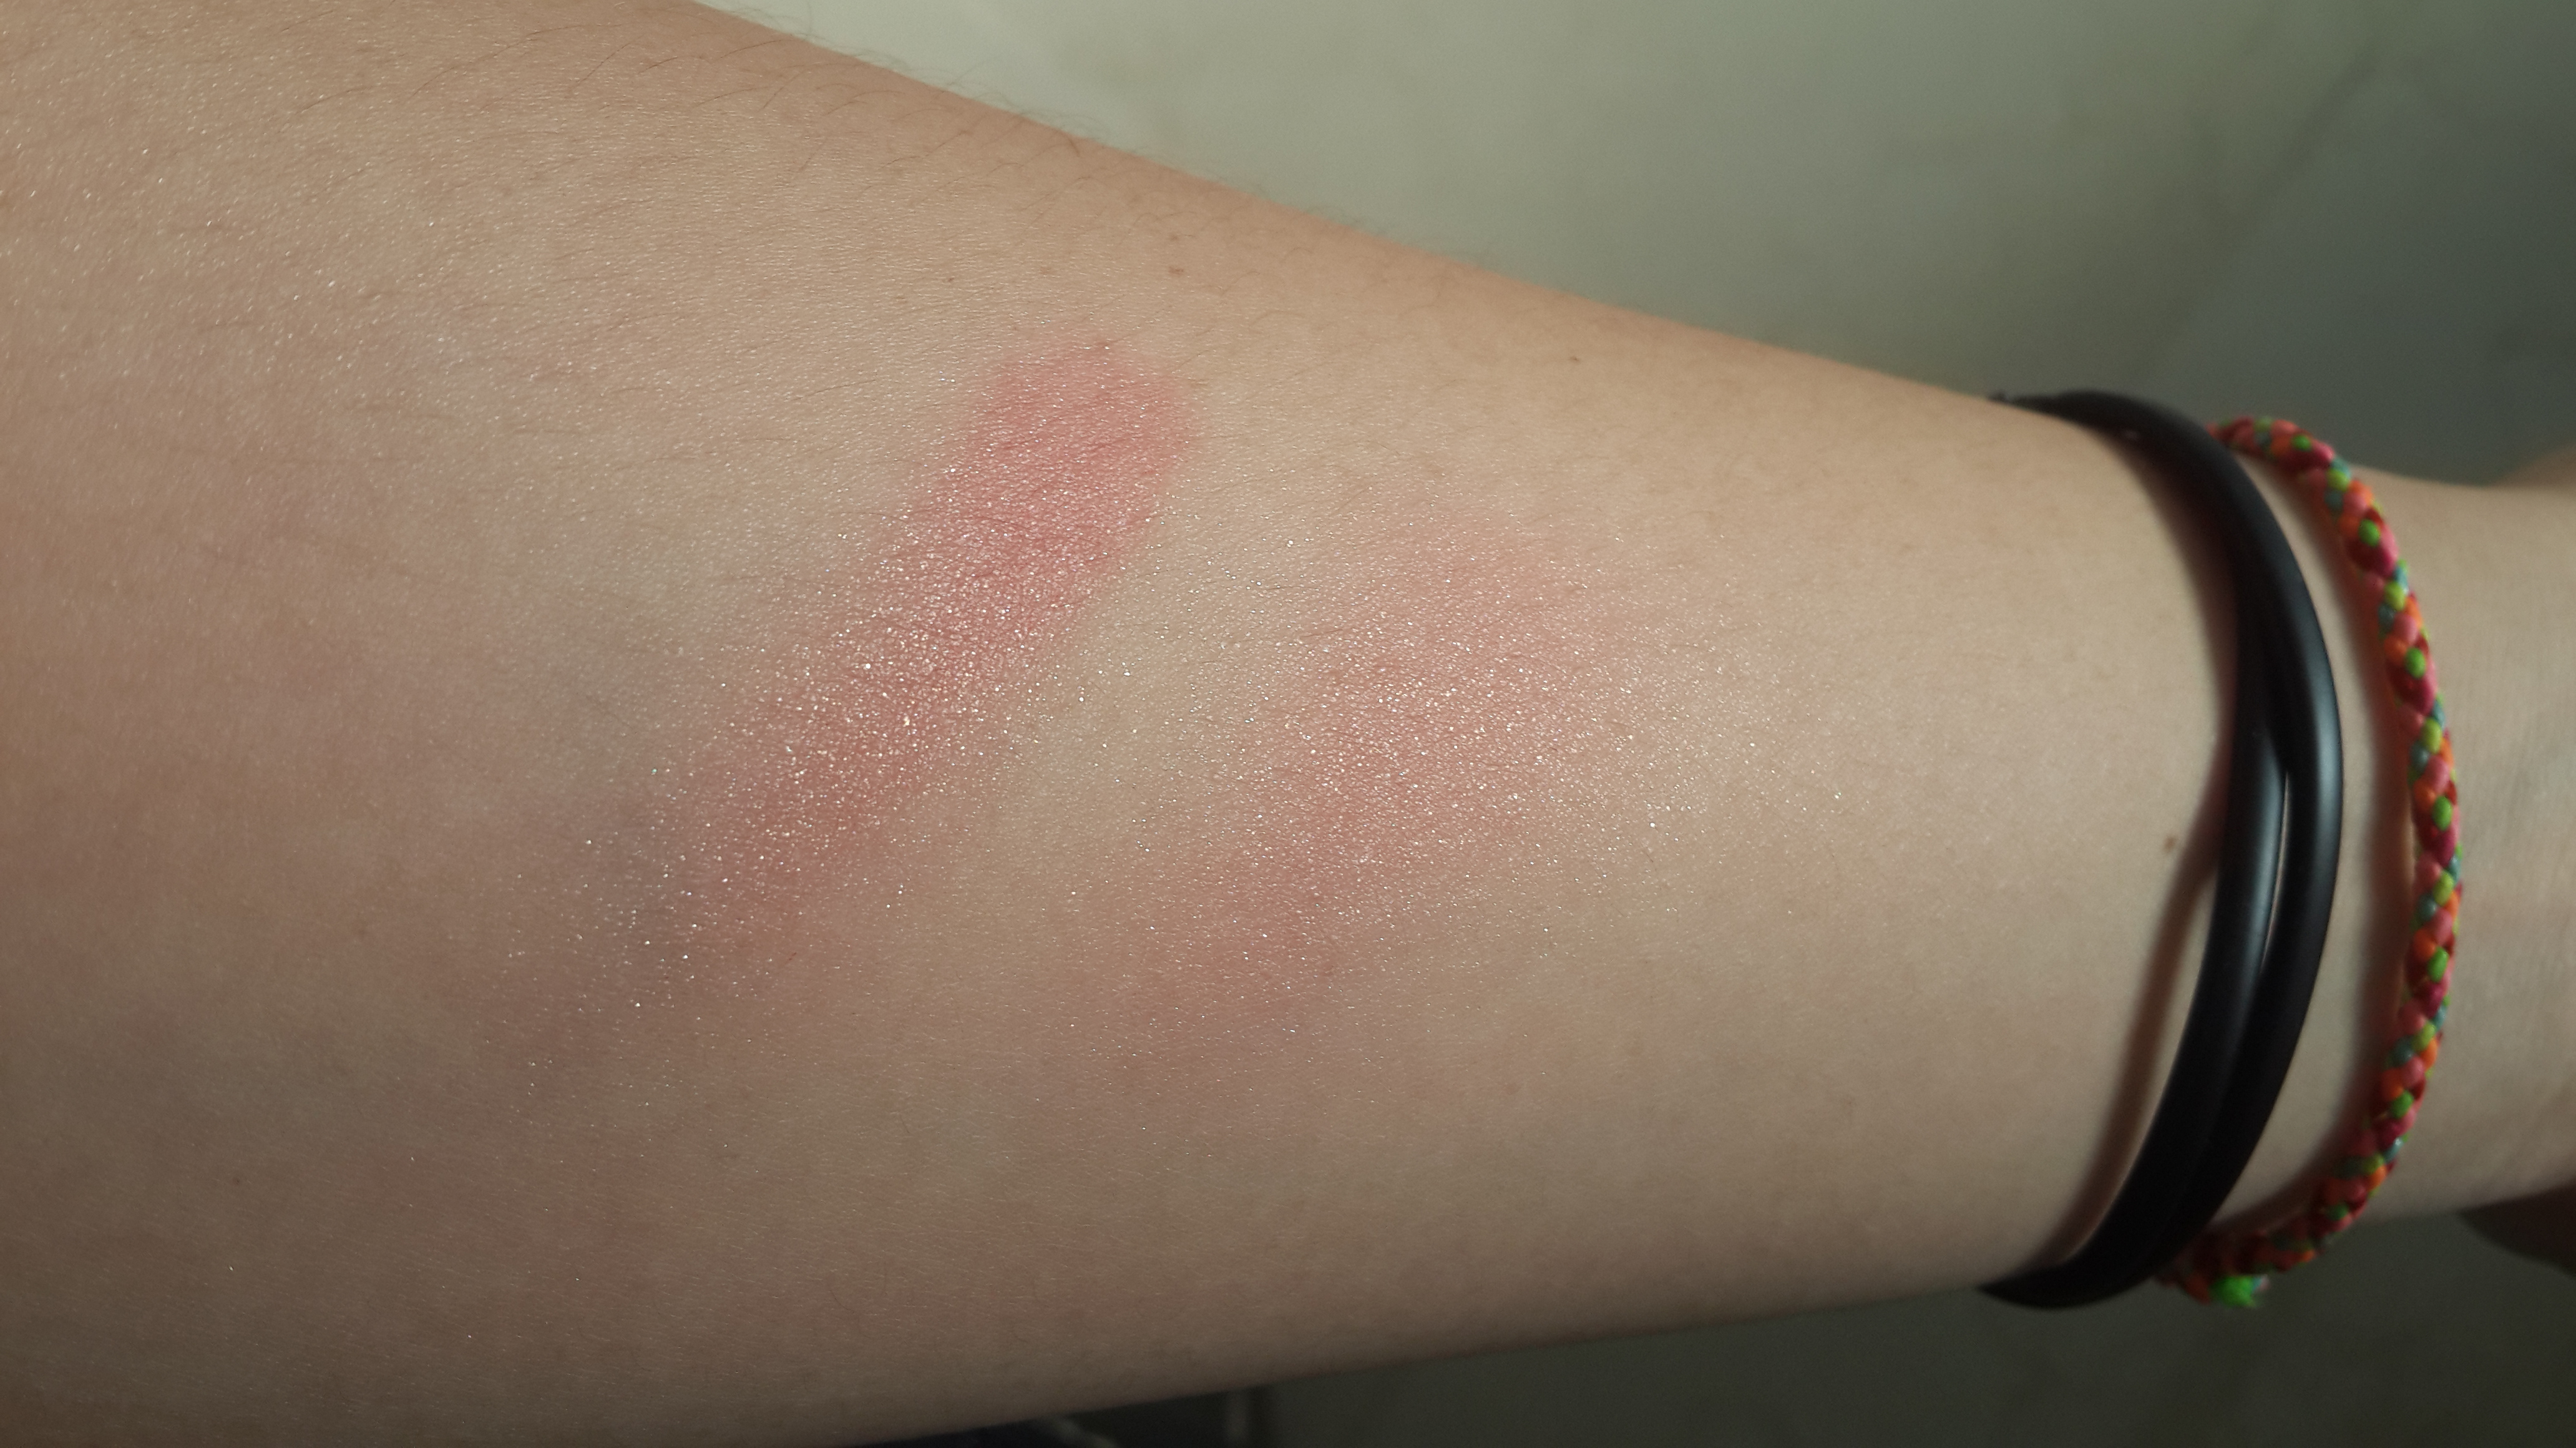
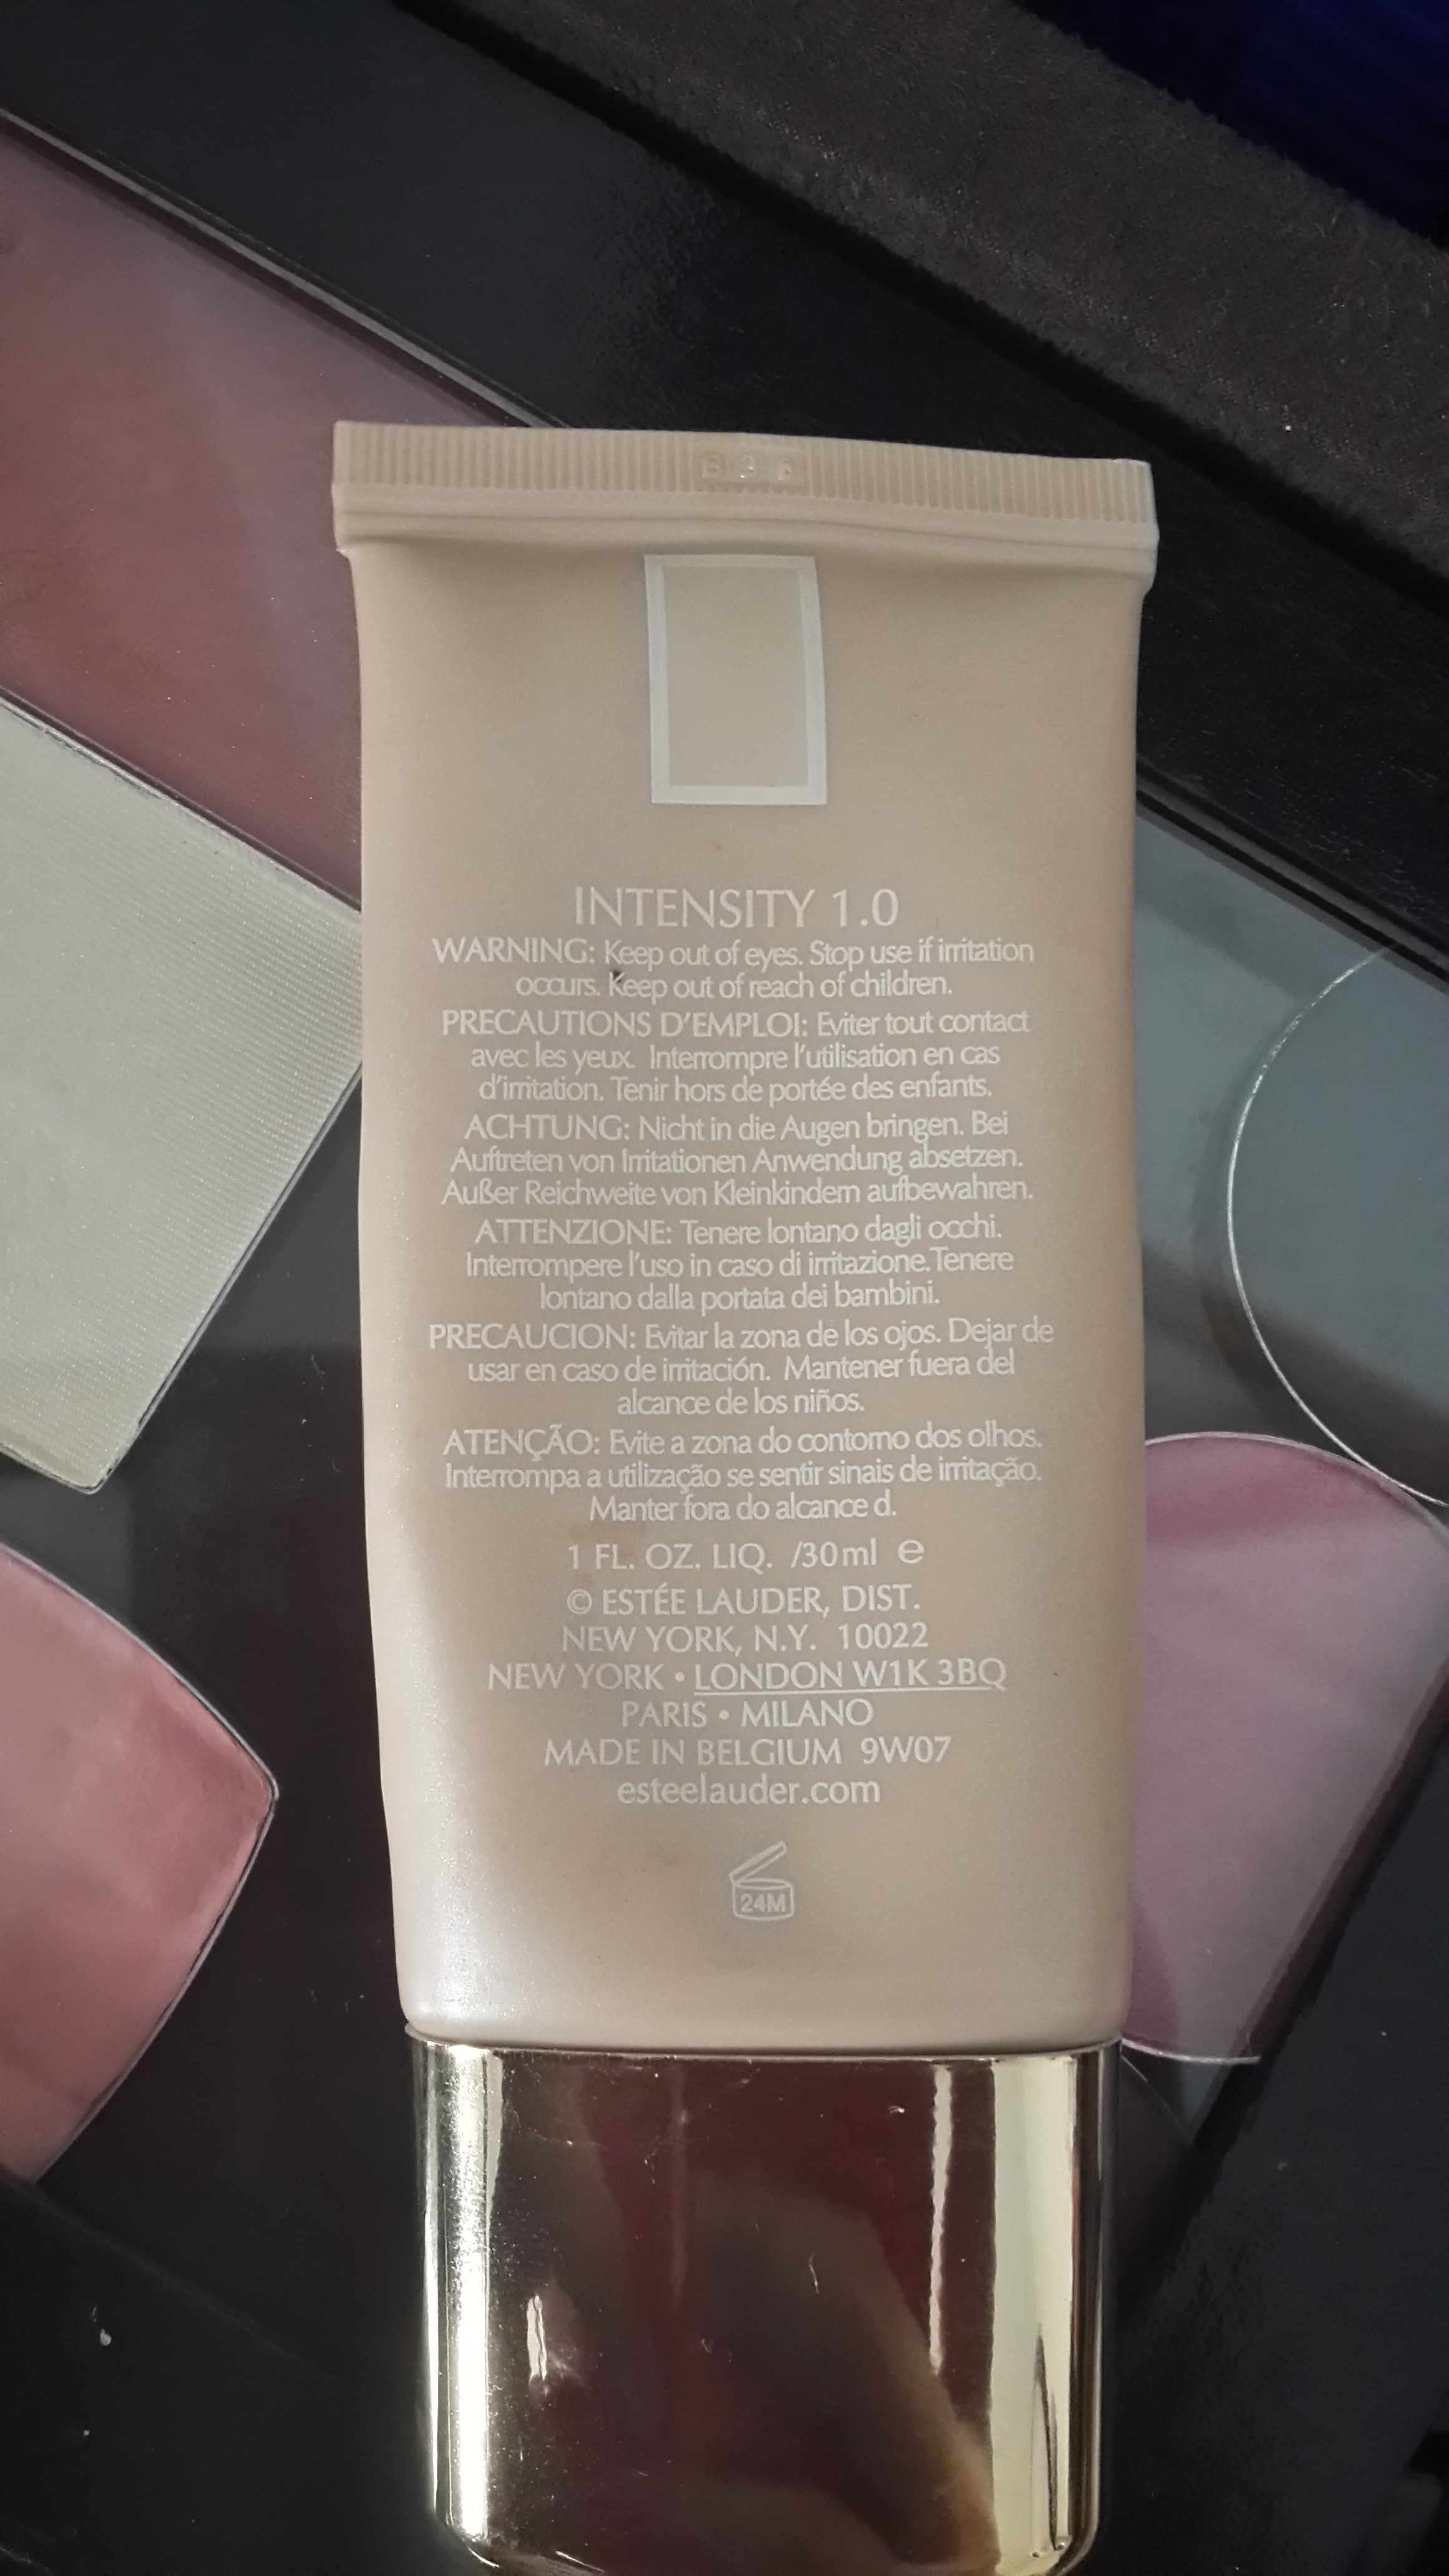
The shade I was matched is Intensity 1.0. The shades available is less extensive compared to its sister, Double Wear but there are 9 shades available. Intensity 1.0 pretty much as neutral undertone so it fits me to a T. It’s pretty hard finding a neutral undertoned bases, most are always leaning towards yellow or pink. I have swatched it along with my other bases and you can see it’s the most neutral one.
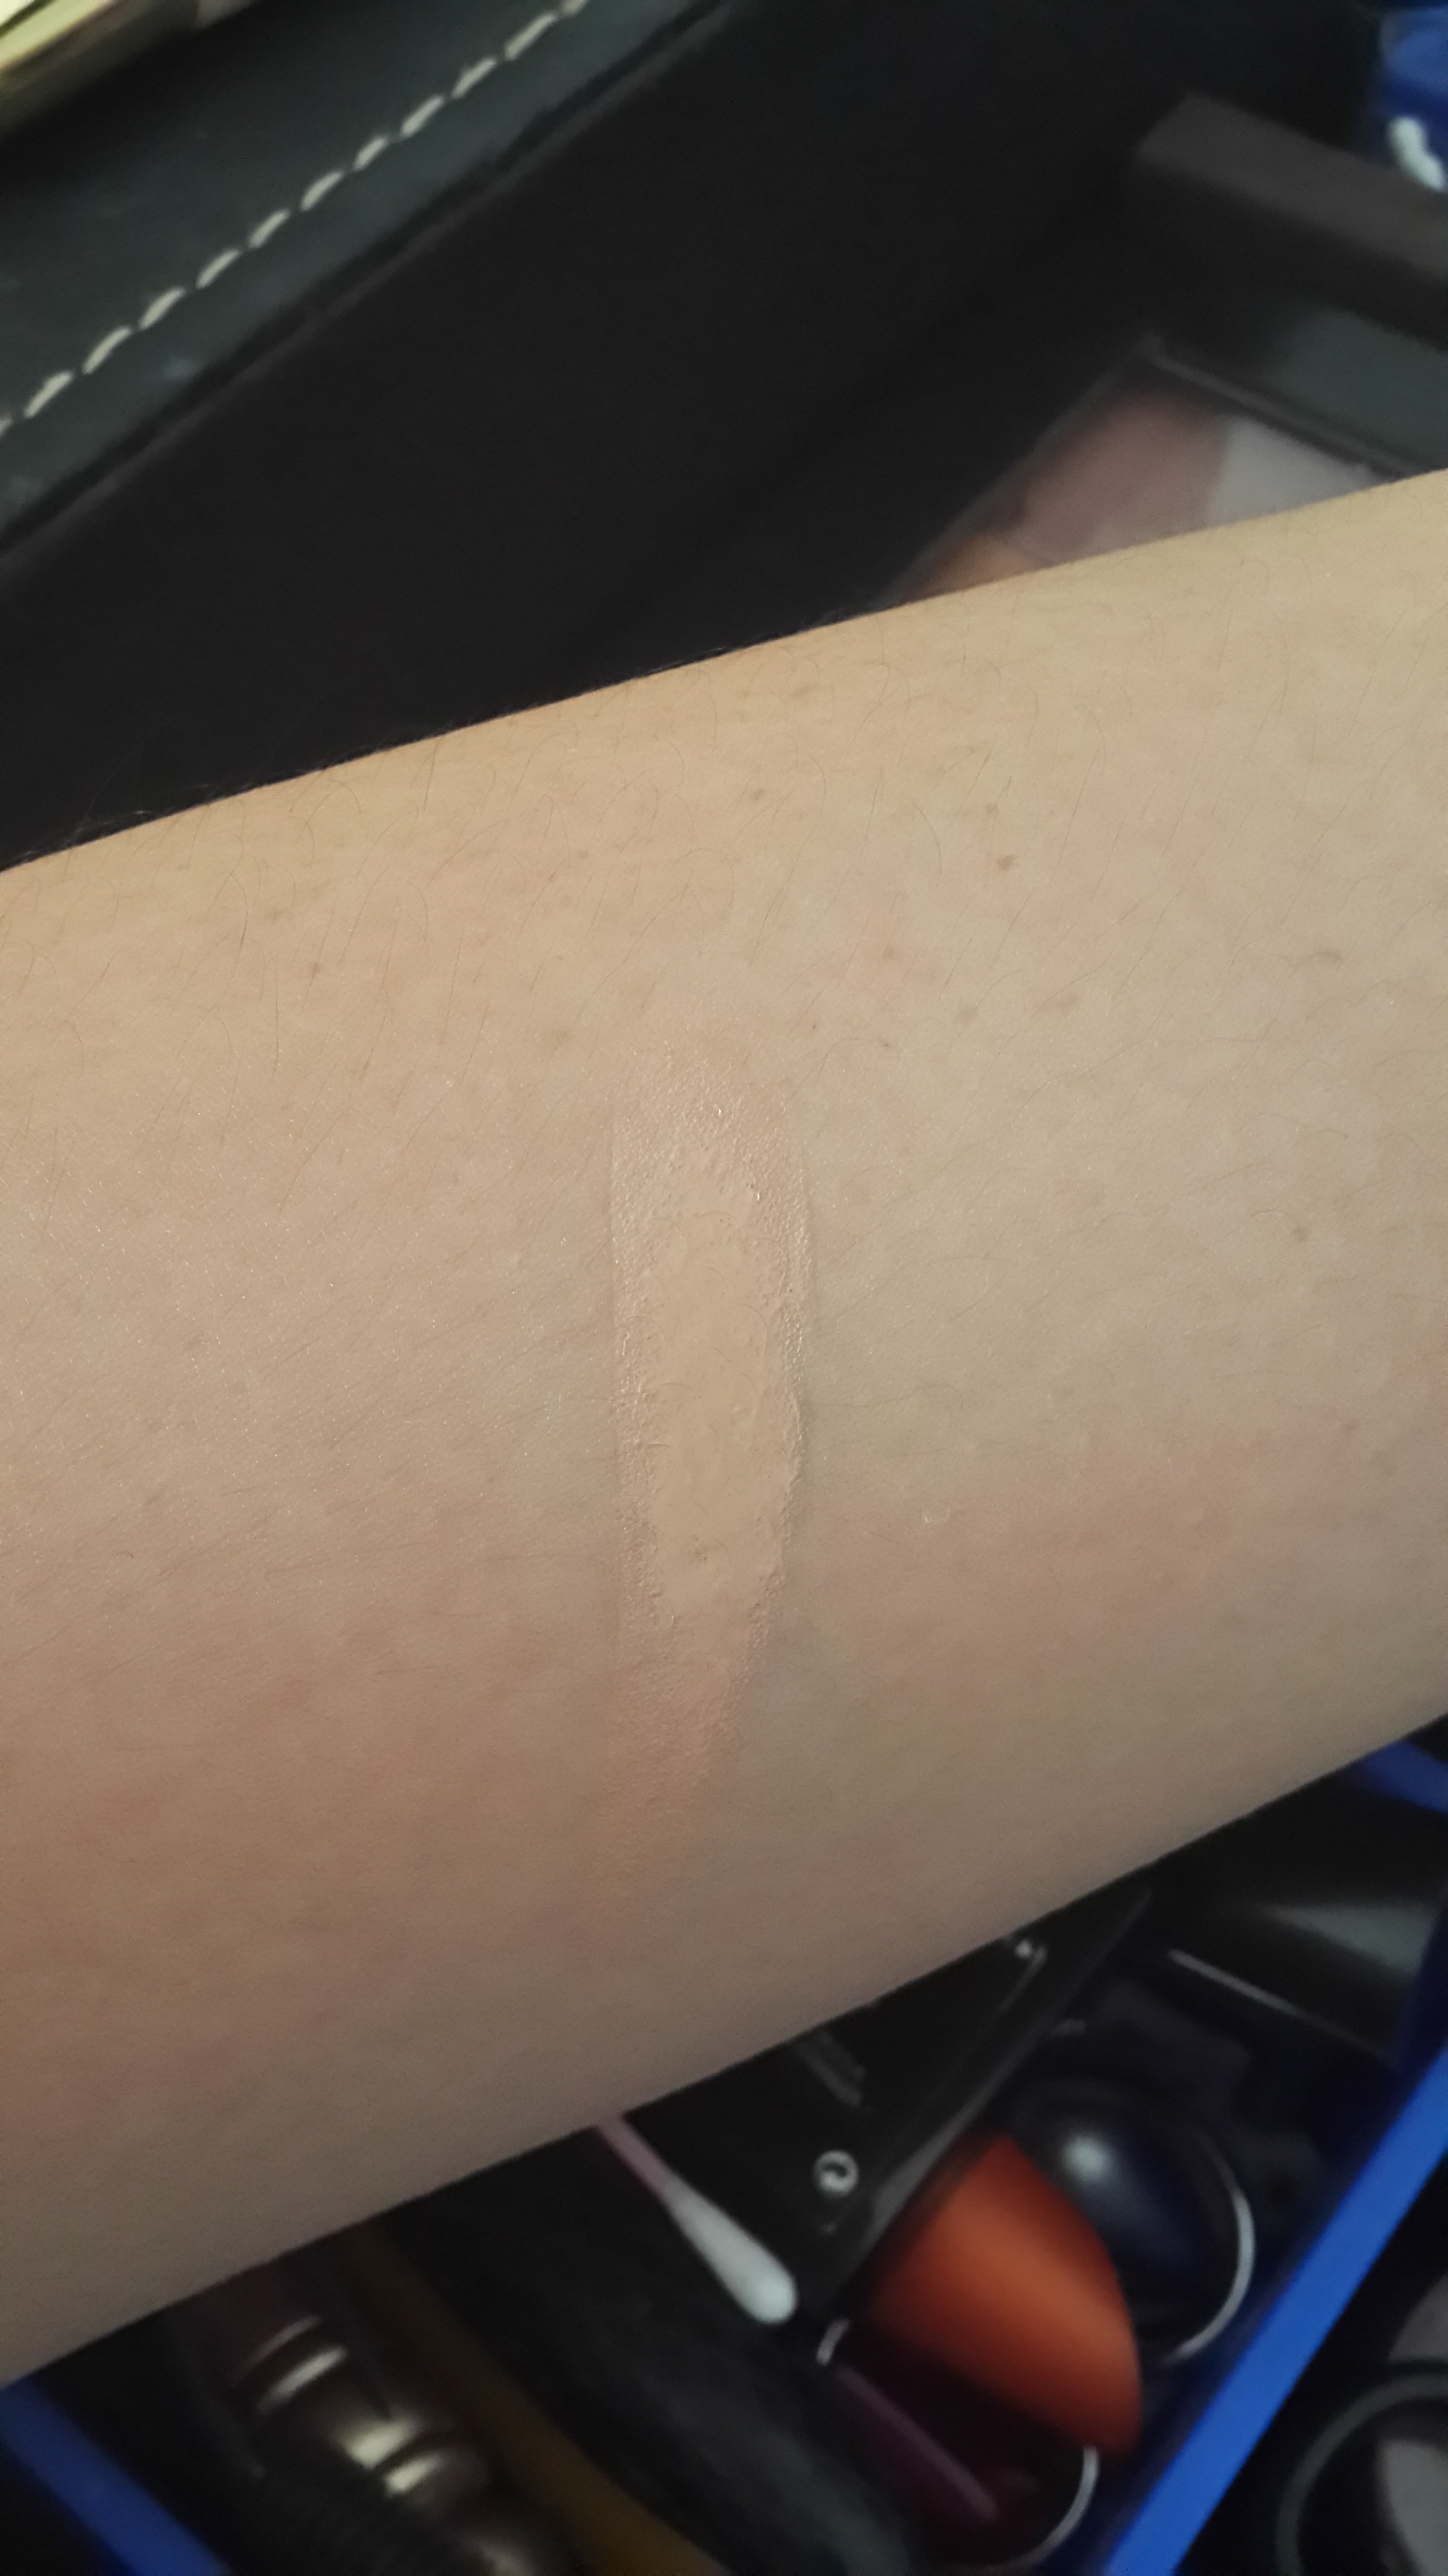
Estee Lauder Double Wear Light Intensity 1.0

L-R: Estee Lauder Double Wear Light Intensity 1.0, Laura Mercier Tinted Moisturizer in Nude, Garnier BB Cream, Revlon PhotoReady in Nude, NARS Sheer Glow in Deauville, Chanel VitaLumiere Aqua in Beige 20
On me, once I set the foundation with loose powder (currently using SK-II Loose Powder) it stays on whole day until I removed it. Pretty impressive for the staying power. Eventhough the description states you can use it on a workout, I won’t recommend it. I personally think when you workout, all those sweats need to come out and I just hate the icky feeling when it’s mixed with whatever makeup I have on. So I always remove my makeup before working out. Besides, I usually just change my outfit and continue doing something else before showering, so I don’t like the foundation mixed with sweat stays on my face for too long. If you’re proned to breakout, never forget to remove your makeup before workout and at the end of the day. The foundation itself is not waterproof, so while sweating profusely there might be a little bit of it melts off but most of it stays intact throughout the day.
Would I repurchase? No. I don’t like that it sinks into my fine lines despite the light texture, I’m moving on to other foundation. We had a good run but that’s it haha.
Plus: light texture, easily spread, staying power is good, acceptable range of shades available, unscented
Minus: tendency to sink into fine lines, can get a little tacky, unable to cover dark circles completely
Adios.. Til next post!